I am trying to understand more in depth, what actually happens during the conversion process in NLP.
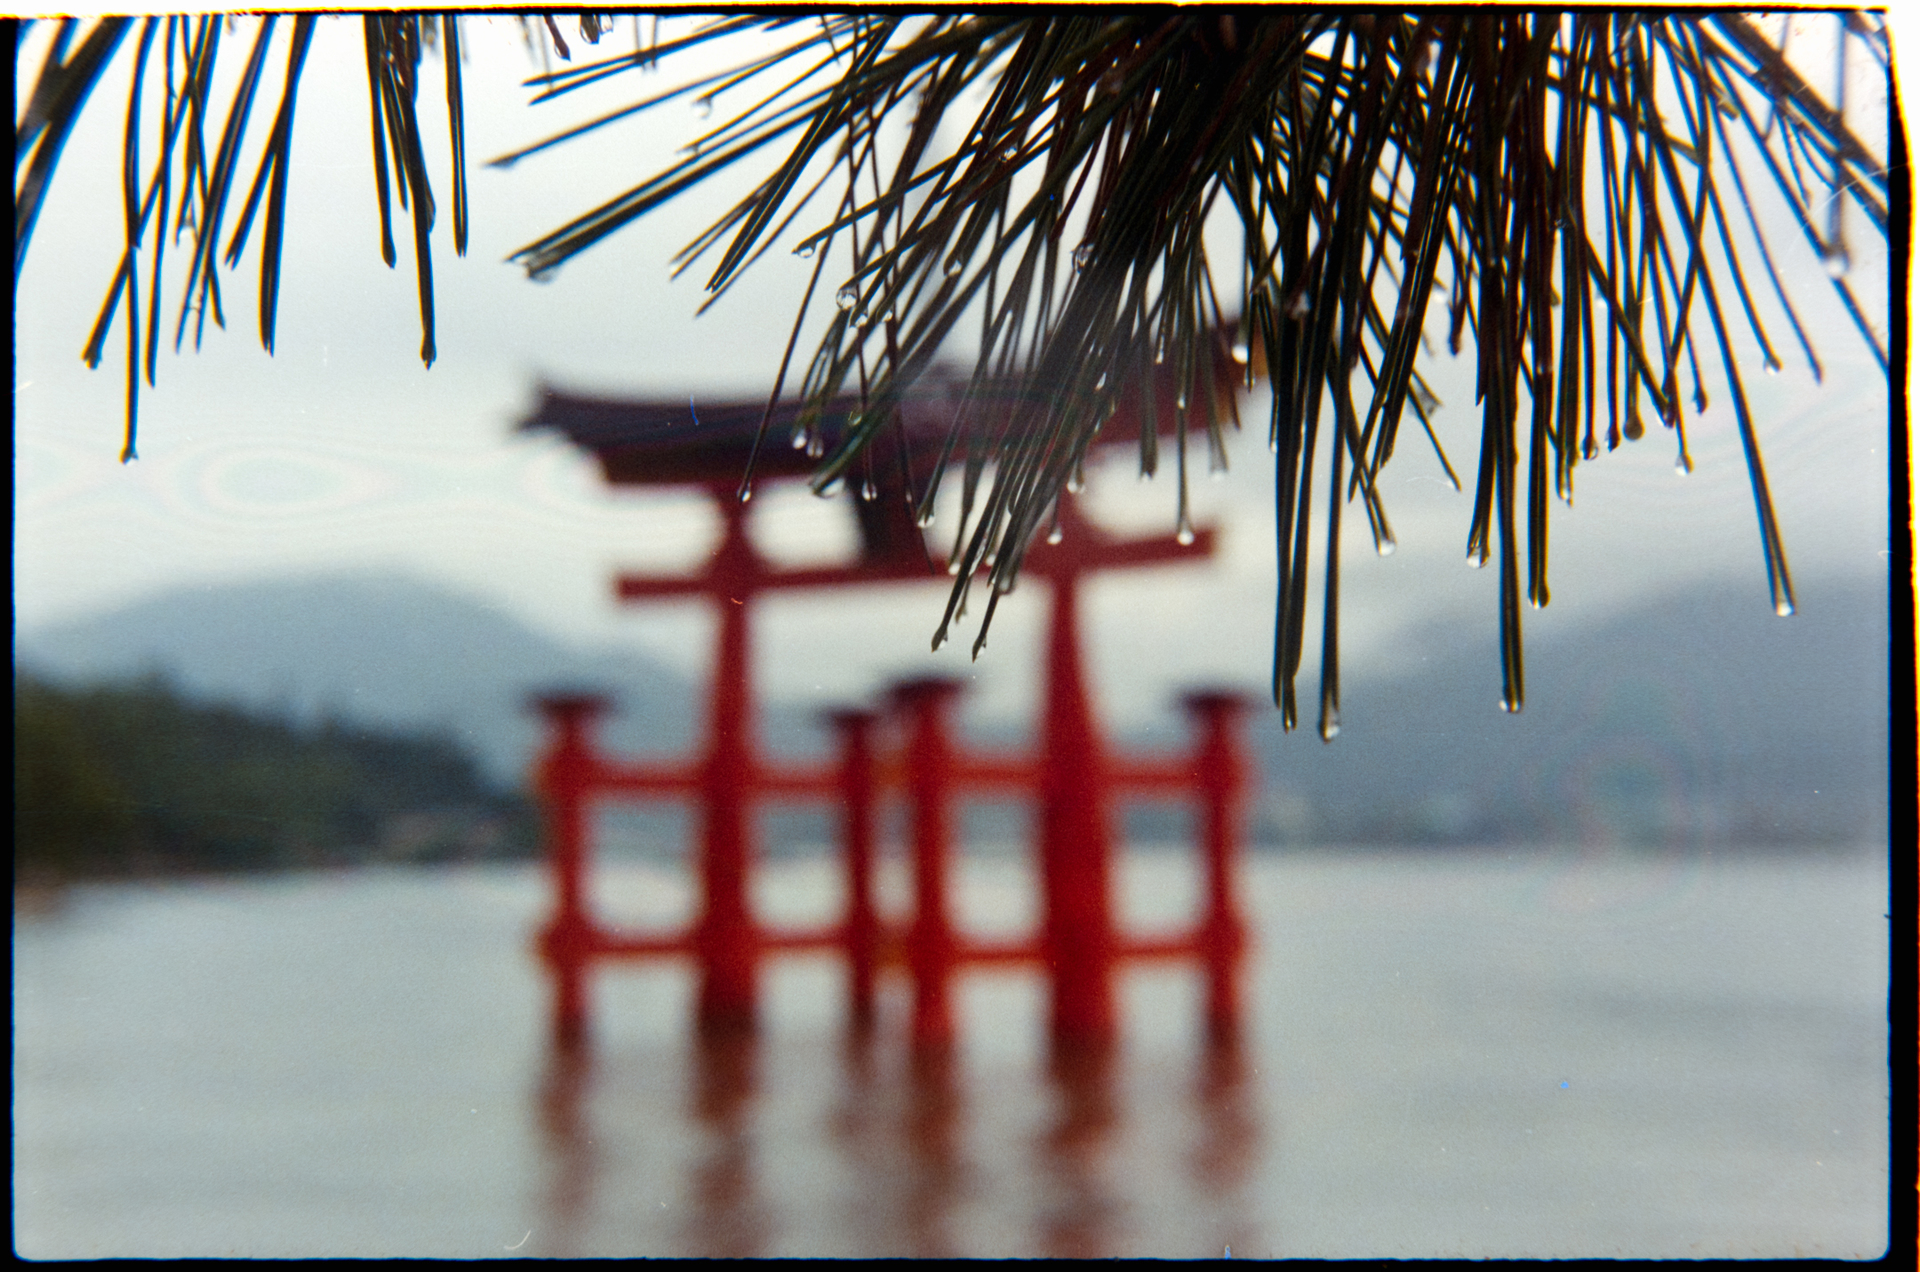
Recently I converted an image where the blue tones appeared very unnatural and after a while I performed another conversion of the same image, but this time I didn’t crop before converting (leaving some unexposed area in the frame) and set the border buffer to 0%. This conversion turned out way better.
After seeing this, I tried the same for multiple other images and the results where generally better (more realistic color rendering), when leaving some border in the frame during the conversion. Now this just makes me wonder, what is happening during the image analysis process, NLP seems to do quite a lot of “interpretation” of the image color rendering. Is there any way of performing a more “pure inversion” of the negative or is there no such thing?
Just to clarify my workflow: Vuescan RAW DNG → Import → Update Vuescan DNG → Read Metadata → white balance from border → Convert (NLP 3.02 - in this case no color model and no white balance)
One thing to keep in mind with NLP is that it tries to have a clear white and black point. So if there’s a lack of one (in your example blackpoint), the conversion will look too contrasty and saturared. Leaving a bit of the border inside the image helps in those cases, as you’ve done it.
Another thing NLP can struggle with at times are images with an abundance of blue – which is the case in your image again.
In short: If you’re not satisfied with the initial conversion pre-cropped, try adding a bit of the film border and see if it’s better.
I was under the impression that it was best practice to fully crop the image before conversion, but in that case I might just change my workflow to always post-crop. Or could you think of a case, where the added film border would be counterproductive?
Generally speaking it’s better to crop pre-conversion. There are just those edge-cases, which NLP cannot handle well and need some extra love.
I tend to do a full conversion of a roll, quickly spot which photo looks off expectations and redo a single conversion (with border included) to see if it improves the result – which it usually does.
I had such cases, and, as @cvandebroek noted, they need some extra care and sometimes, they need a very radical crop in order to provide better colour.
Images with predominant colour can profit from including the rebate, polychromous images with burnt highlights can profit from crops that also exclude the burnt areas.
Alright, got it, thanks for your replies! I will experiment a little bit in the future and see what works best for me.
@nate Just as a suggestion, since this cropping topic seems to be relevant in a fair amount of cases. Maybe it could be feasible to allow for negative numbers as input parameter for “border buffer”. That would make experimenting with including film borders easier without actually having to recrop every time.
Have you tried using the WhiteClip and BlackClip parameters? They can be set to negative numbers, and effectively change where the image starts and ends when it comes to the darkest darks and lightest lights.
If you are converting with it cropped, and find that it has been too aggressive at finding a black point, try setting the BlackClip to something like -10 and see what it does.
Including the film border in will not provide better information to NLP’s conversion engine, I believe you are just leaving up to chance what the clip parameters do numerically.
@edbr I have tried your suggestion setting the black clip to a lower value, but this doesn’t seem to do the trick for me. The colors are still somewhat off, it seems including the film border does actually provide some additional useful information to the conversion.
Here on the left side my result with included film border and on the right without border and reduced BlackClip = -30, both now white balanced “auto-neutral”.
I have to say, the shadows in the right side one look much better to me.
It is true that the blues on the right are more un-natural, have you tried using the Natural LUT (found in the HSL dropdown)? This reduces the cyan sky rendering that colour negative film gives. You can also dial up its effect once you have left NLP by turning up the profile slider in the develop module of lightroom.
I would bet that your left-hand-side conversion with the Natural LUT, possible above 100%, and some colour balancing will look the best. Could you provide the file you are converting from, so I can have a go at converting it myself?
The film border cannot provide any information about the image, since there is no image there!
I’ll agree with you there, just seems like the conversion profits from the reference somehow.
Very interesting point, I didn’t know about this procedure. Will that slider only affect the LUT?
Sure, very happy to see what you would come up with. On the right side of the scan there’s a little blank bit, since it was the end of the strip. It was scanned on a Coolscan IV via Vuescan. Here’s the link:
Hello, I was trying out NLP’s trial and I was having a similar issue with consistency in conversion, and I noticed that I very often (but not always) get much better result if I crop everything out of the image except the middle portion of the image, basically leaving in circa a quarter of the full image, but in the center of it. This trick helped me a lot in a portrait in bringing out the subject, since NLP loved to leave it completely dark. Every other setting is on default Frontier NLP Standard profile.
Please ignore the newton rings. Imo the better one, as in more true to life, is the “bluer” one, which is also the one I cropped everything out but the center.
My theory is that when doing DLSR scanning some lens artifacts like vignetting and chromatic aberration are more extreme at the borders, and cropping out everything but the centers in a scene that’s very uniform like the example here leads to NLP having a better understanding of what it is it likes to do. At least it could very well be my case since I’m extremely cheap and I use a vintage lens for scanning since it’s also the same lens I own for shooting and I only do analogue photography.
I’m new to the forum, and I’m getting error 422 whenever I try to upload two images to a single reply.
In this second image, I converted while using this “framing” while using 2% cropping, meaning that the borders weren’t included. both images were white balanced on the film border.
NLP analyses an image and e.g. looks for minimal and maximal dense parts which will translate into black and white respectively.
Now, if these parts of a negative inhabit a larger part of the image, colour balance can suffer, but we can do something about it like cropping, as you found out, or by adjusting the balance with the tools of NLP’s second tab.
NLP cannot know how an image should look, except black and white parts. All tones in between are kind of a best guess, and NLP does a fairly good job in most cases.
Instead of cropping the negatives, I mostly set border buffer to 15…25%, which allows for relatively effortless (economic) first conversions. If necessary, I then un- and re- convert images that I want to keep or print.
BTW: The forum software is set to limit attachments for new users. After reading and writing somany posts, those limits are lifted and the number of attachments per post increases.
Ever since I started scanning my negatives at home I am having trouble to wrap my head around explanations like this. I understand that a conversion tool like NLP doesn’t “know” what an image should look like, but what I don’t understand is why it would need to know.
In my naive understanding there should be a certain specific color in the negative and accordingly a specific opposite color which it translates into. I thought, during conversion the orange mask needed to be “removed” and the only additional correction one would have to perform is the white balance depending on the combination of used film material & actual lighting condition.
Apparently this is wrong and I’d appreciate it if someone could explain why there is more to it than that. Why does one need an additional step, where the specific image is analyzed an as you stated a “best guess” of the tones has to be performed. Is there no such thing as a “pure” inversion of the present colors in the negative?
If you take a look at the rgb tone curves of converted images, you’ll see that they can be quite different from image to image. If there was a pure inversion, why would that be the case? If there was a simple inversion, why would NLP take so long to convert a single image?
I converted my first negatives before I knew about NLP. While B&W was and still is easy to convert, colour negatives need(ed) more complicated changes of the tone curves. Doing this, I found films that were straightforward to convert and others that were hard to even get close to a decent conversion - although I mostly used the same films. This means that there must be more things that take influence, e.g. exposure, lighting conditions, variations in manufacturing, development, object contrast and possibly more. These variables must be taken into account, and this is NLP’s core functionality. It’s some carefully executed analysis and matrix calculation, but I used the word “guess” to hint at the unknown that NLP encounters in each image it gets to convert.