Nice thing is that an iPhone backlight is easy to get

I’m making a dslr scanner based on a toyo 4x5 LF camera that will use this backlight source 
Nice thing is that an iPhone backlight is easy to get
I’m making a dslr scanner based on a toyo 4x5 LF camera that will use this backlight source
About Kaiser Slimlite Plano: yes, there’s a pattern.
Solution: Some separation (from panel to film) is probably a good enough solution. Probably half-inch will put the panel’s pattern well enough out of focus for 1x shots.
If you want more, use spacing, then a diffuser, then more spacing.
This panel gives good light. Biggest problem I see is that exposure times are ~1/3 sec, and you’ll for sure want to darken the room.
A modified combo like this looks like something that could be useful… if there were some adapters to screw into the front thread of the macro lens. No stray light!
I’m one of those who likes to make use of what I have, and will sometimes thin outside the box. possibly foolishly. Having been a casual lurker for over a year, but finally got around to getting some gear, I’m almost ready to start digitizing my old 35mm film negatives. My question is about backlight (hence asking on this thread).
For context, I have the Essential Film Holder (received v3 a couple of months ago) and I’ll be shooting with a Canon 80D and EF-S 60mm macro
Rather than buying a backlight, I was considering using my GVM 80W CRI97+ Dimmable LED Continuous Video Light 5600K with Bowens Mount [I got mine with a softbox vs reflector] https://www.amazon.com/dp/B07Z5RKCYL
and either adding either (I don’t have, would need to acquire… in the ~$25-35 range)
If this is worth pursuing at all (and I’m ok to hear it isn’t)
Obviously I could lay the EFH flat on a table but to use a light stand mounted LED video light, I would have to go with either a horizontal setup, or have raised the EFH (and camera) with the LED video light below pointed up at EFH (I have plenty of ways to pull that off with what I have)
recommendations/thoughts?
as I’m considering buying a snoot or reflector I might not otherwise use, should I simply get one of the LED panel backlight sources mentioned above instead and call it a day?
Another interesting approach:
So I thought I’d add my setup. I’m using:
Olympus OMD EM1 III - using high-resolution mode.
60mm Macro
Kaiser Repro Kid Copy Stand
iPad Pro 2018 for a light source
An app called Lightbox
Most importantly, a homemade 3 - 4 " spacer between the iPad and the film holder (The film holder is just a plastic piece that came with a flatbed scanner I had from a while ago.)
Works great for me.
I don’t know specifically but I have used the Slimlite Plano to good effect.
I haven’t been on this site recently, so here’s a late answer for what I did. First I prototyped a box enclosure with interior painted white. Could not get even light across 4x 5 my max scan size. Then I went with standard white PVC 6" coupling from Lowe’s https://tinyurl.com/srpjd34
That is tested and works well. I don’t see a way to attach a photo off hand so here’s a cloud link. I’ve worked on it a bit more to tighten it up, but it was working well at this point.
I successfully ordered a duffesor for a Solux 47K bulb from Solux not too long ago. AFAIK they are still there. Did you try this link?
Solux 47K bulb
My light source is the Viltrox L116T video light. Very bright. 3-4 times brighter than iPhone, iPad or those tracing tablets. Adjustable brightness and color temp. It’s about the same size as the EFH negative holder so there’s little or no spill light effecting the exposure.
FW
Has anybody made a comparison between using a 95 CRI and a 99 CRI source?
I wonder if differences can be appreciated without in-depth examination of the results, or wether we are getting into the realm of marginal improvement and diminishing returns.
What kind of setup do you have for connecting the Viltrox to the film holder etc, and doing height adjustments etc?
Curious because I have two of those panels for other, general lightning use but am thinking of repurposing one of them as the scanning light. Have a Valoi film holder setup myself.
My setup is very simple and inexpensive and so far it works for me. I do this for myself and its not a retail business so I’m not scanning a lot of rolls. I am very concerned about quality but it’s way too easy for this to morph into an expensive setup.
I have the Viltrox L116T hooked up to AC with a 90 degree plug adapter which allows it to sit on the battery. Perfect? No, but until I have a holder for the light itself, everything works. I’ve heard of people cutting holes in boxes and setting the light into that but it doesn’t sound like a long term solution.
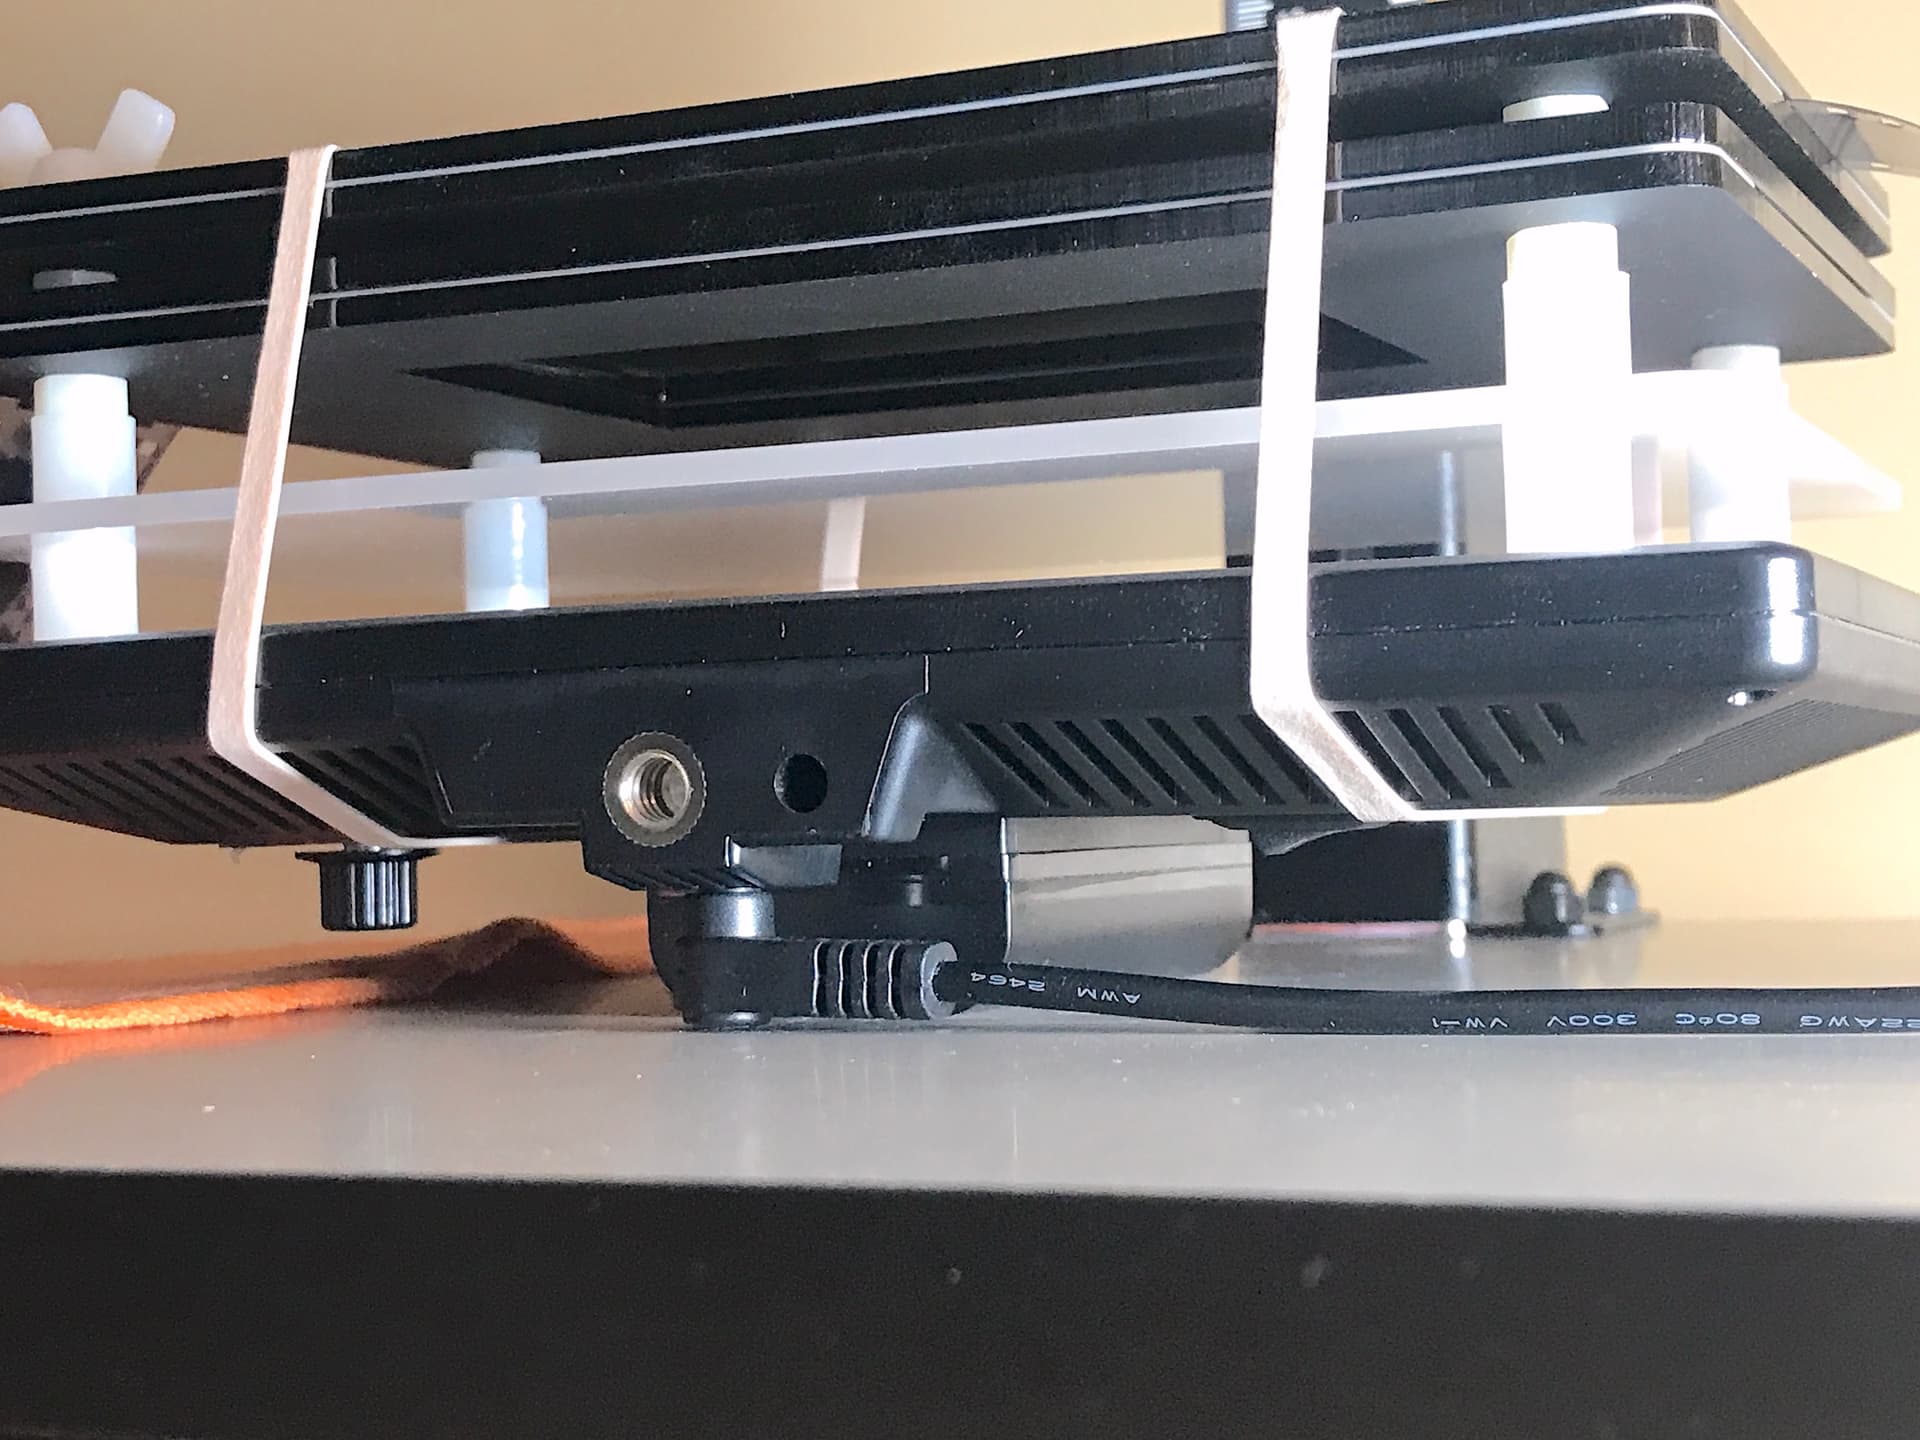
I have the EFH sitting on top of the Viltrox and secured with rubber bands. It sits amazingly stable and stays level with the base and camera. I hear the experts groaning but it works. The Viltrox is set at 5600K and full power. There’s very little heat build up and it’s never an issue. I have the camera set to Daylight WB and check the histogram and the camera’s meter for exposure.
There’s a lot of spill light from around the base of the EFH on the Viltrox. I use cheap foam sheets from Micheals, cut into strips and wrapped around the sides to kill all the spill light, it’s also secured with rubber bands (sorry).
I have the camera on a JPL copy stand that has been very sturdy for the A73 with a Sigma 105mm f2.8 DG DN 1:1 macro lens. I check the level of the camera and Viltrox/EFH setup with a small level, in all four axis directions and everything is as accurate as my eyes can tell.
I shoot manual at ISO 100, f8 and I adjust shutter speed for correct exposure. Electronic “Silent Shutter” to avoid vibrations.
I use Camrote app on phone, it allows me to see the image and make any adjustments without touching the camera.
I confirm focus with manual focus and focus assist with Red Peaking highlights.
Before scanning I wipe off the table and copy stand with damp cloth to cut down on dust and static. I gently wipe off the negatives with a clean dry anti static cloth and allow it to roll up and sit on the anti static cloth. I wrap it in the same cloth to protect from dust floating around, and as I’m move the negatives, it continues wiping it off. Theres another cloth on the other side as the negatives come through so they don’t get scratched after scanning.
I use a Rocket blower on each negative before copying.
So far my scans are reasonable dust free, sharp and with no weird blurring or exposure issues.
I would like to improve on this by:
Hope this info helps, and if anyone has advice about improving technigues and reasonable priced products lets hear it.
Thank you,
FW
I’ve been using my iPhone 12 Pro as a light source with the Negative Supply basic film carrier, and while I feel like I’ve finally found a setup that works for me, I’m getting light areas around the edges of my film.
I’ve tried adjusting a number of things, but I’m concerned that the iPhone simply isn’t bright enough. Does anyone have any advice for what I might do to fix this?
It’s happening on nearly every frame, but here’s a dark picture to show how significant this effect can be.
Using a mirror allows to perfectly align the subject and sensor planes. If you see the center of the lens in the center of your image, alignment is done and perspective distortions are none.
This item helps to adjust the camera easily:
The number of light sources increases almost every day.
Here’s my round-up of the ones I’ve experimented with for use with Essential Film Holder.
https://mailchi.mp/clifforth/light-sources-for-film-scanning-with-your-efh
Your system looks functional which is most important. A relatively easy add-on to your system would be to shoot tethered. If you use Capture One, your Sony a7iii will connect directly via USB-C and you can do tethered capture. If you use Lightroom, TetherTools has some software called SmartShooter 4 that enables you to do tethered capture directly into Lightroom. The software gives a live view of the camera and you can control the shutter via software. It costs a few dollars but it makes the process a lot smoother and quicker.
Hi Nate,
Don’t know if you’ve heard of the light source released by Cinestill? Compare to other options, it is really affordable (USD34.95). Plus the CS-Lite offers three different color modes. I was wondering if, in your opinion, in the NLP workflow, it is as cinestill advertises, cold light for scanning colour negatives, white light for scanning B&W negatives, and warm light for scanning colour positives.
Here is what they claimed in the user manual:
Cool Light mode:
This mode is designed to reduce the orange mask present in color negatives to allow for more neutral scans. Color balanced captures result in superior color separation with less noise due to excessive gain produced when shifting color temperature below 2800K in a raw file. Also helpful for images taken on slide film under incandescent light to reduce the orange cast.
White Light mode:
Standard white light for scanning black and white images and slides processed in Cs DynamicChrome warm-tone developer. Can also be used to scan color negative film for post-processing workflows based on white-light scanning.
Warm Light mode:
Slide film is designed to be viewed with a tungsten balanced backlight. This setting also produces richer tones and enhanced color separation, especially in the red channel.
Thank you.