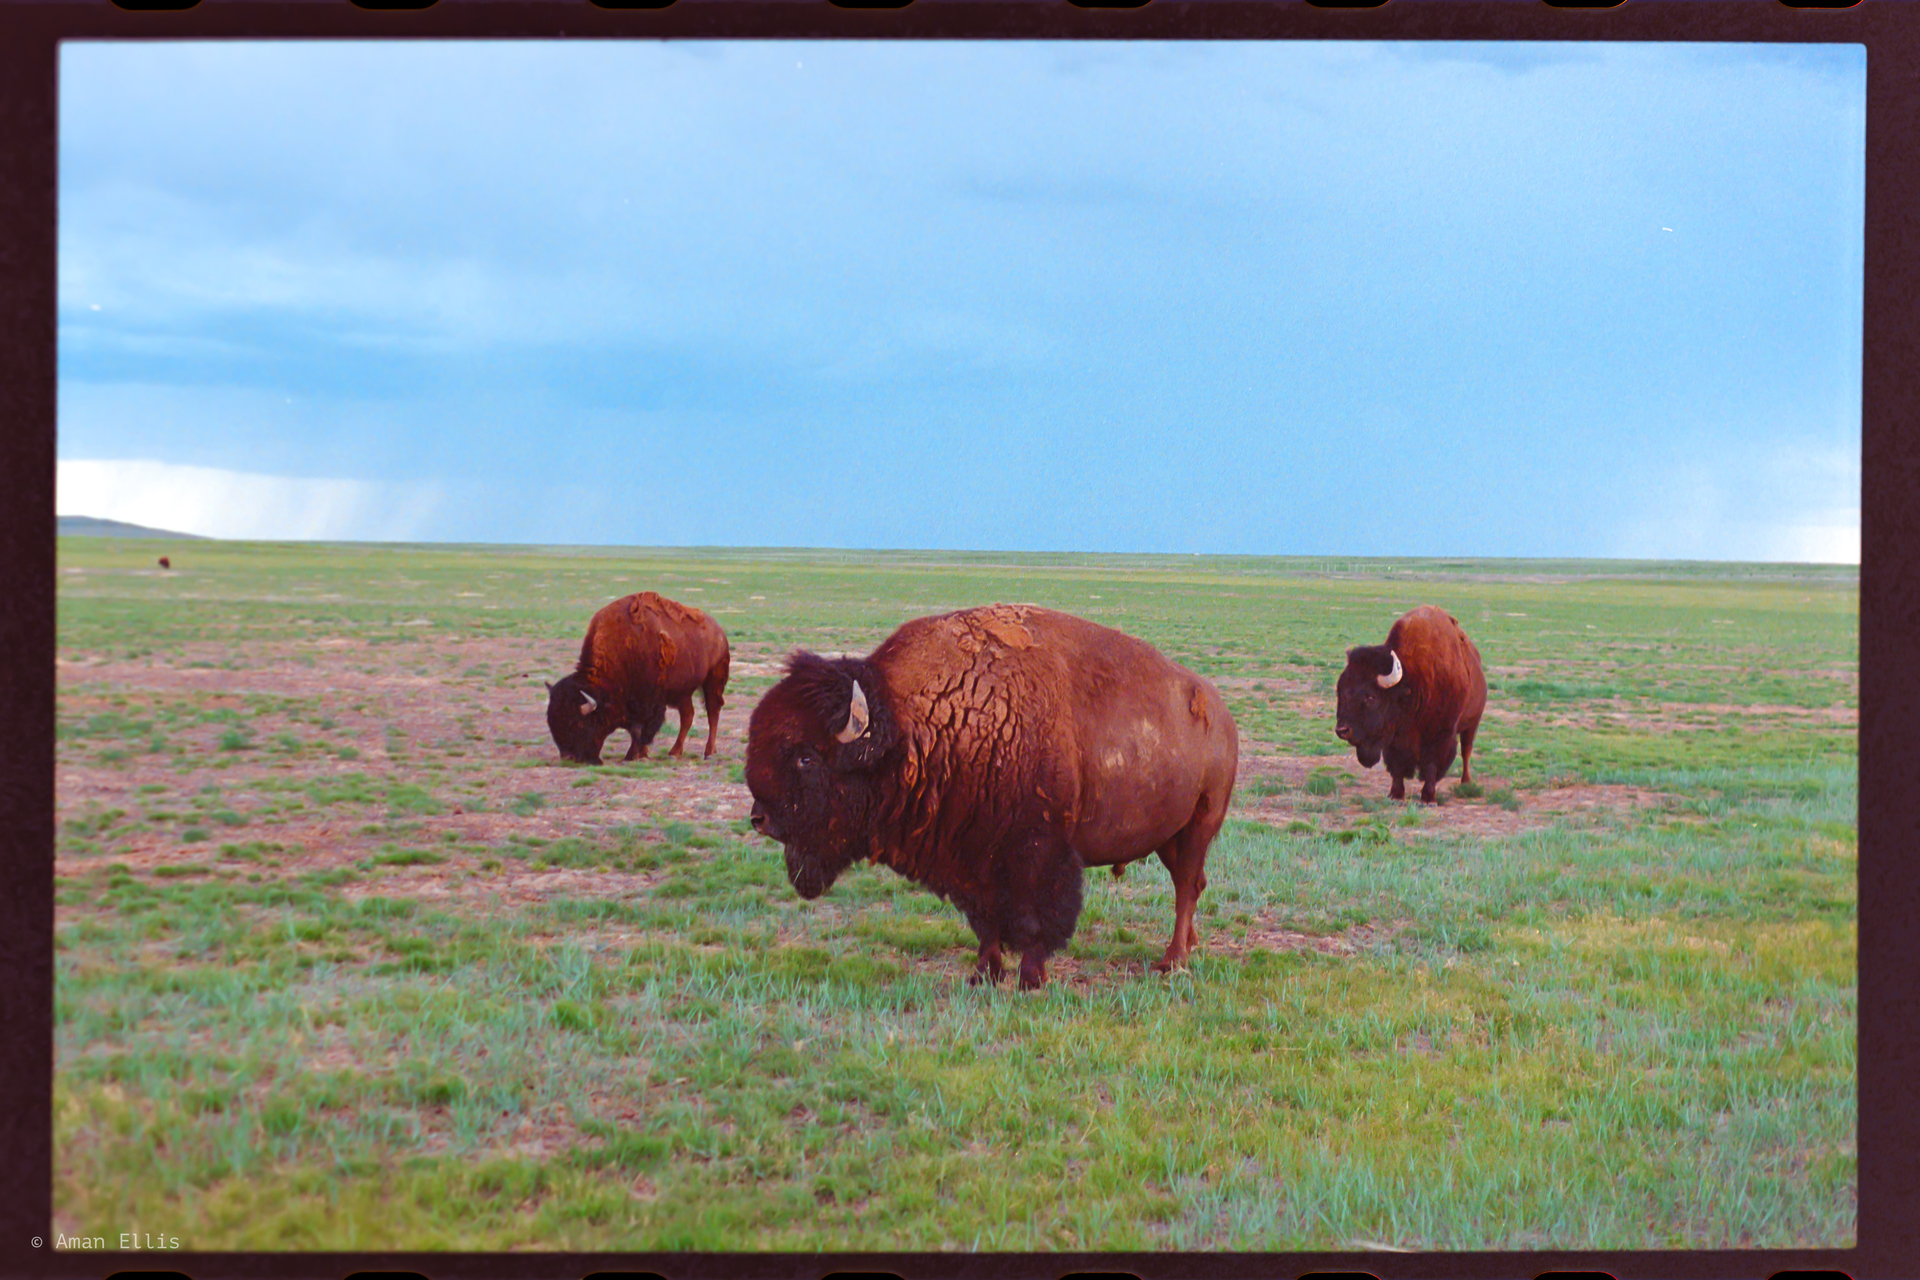
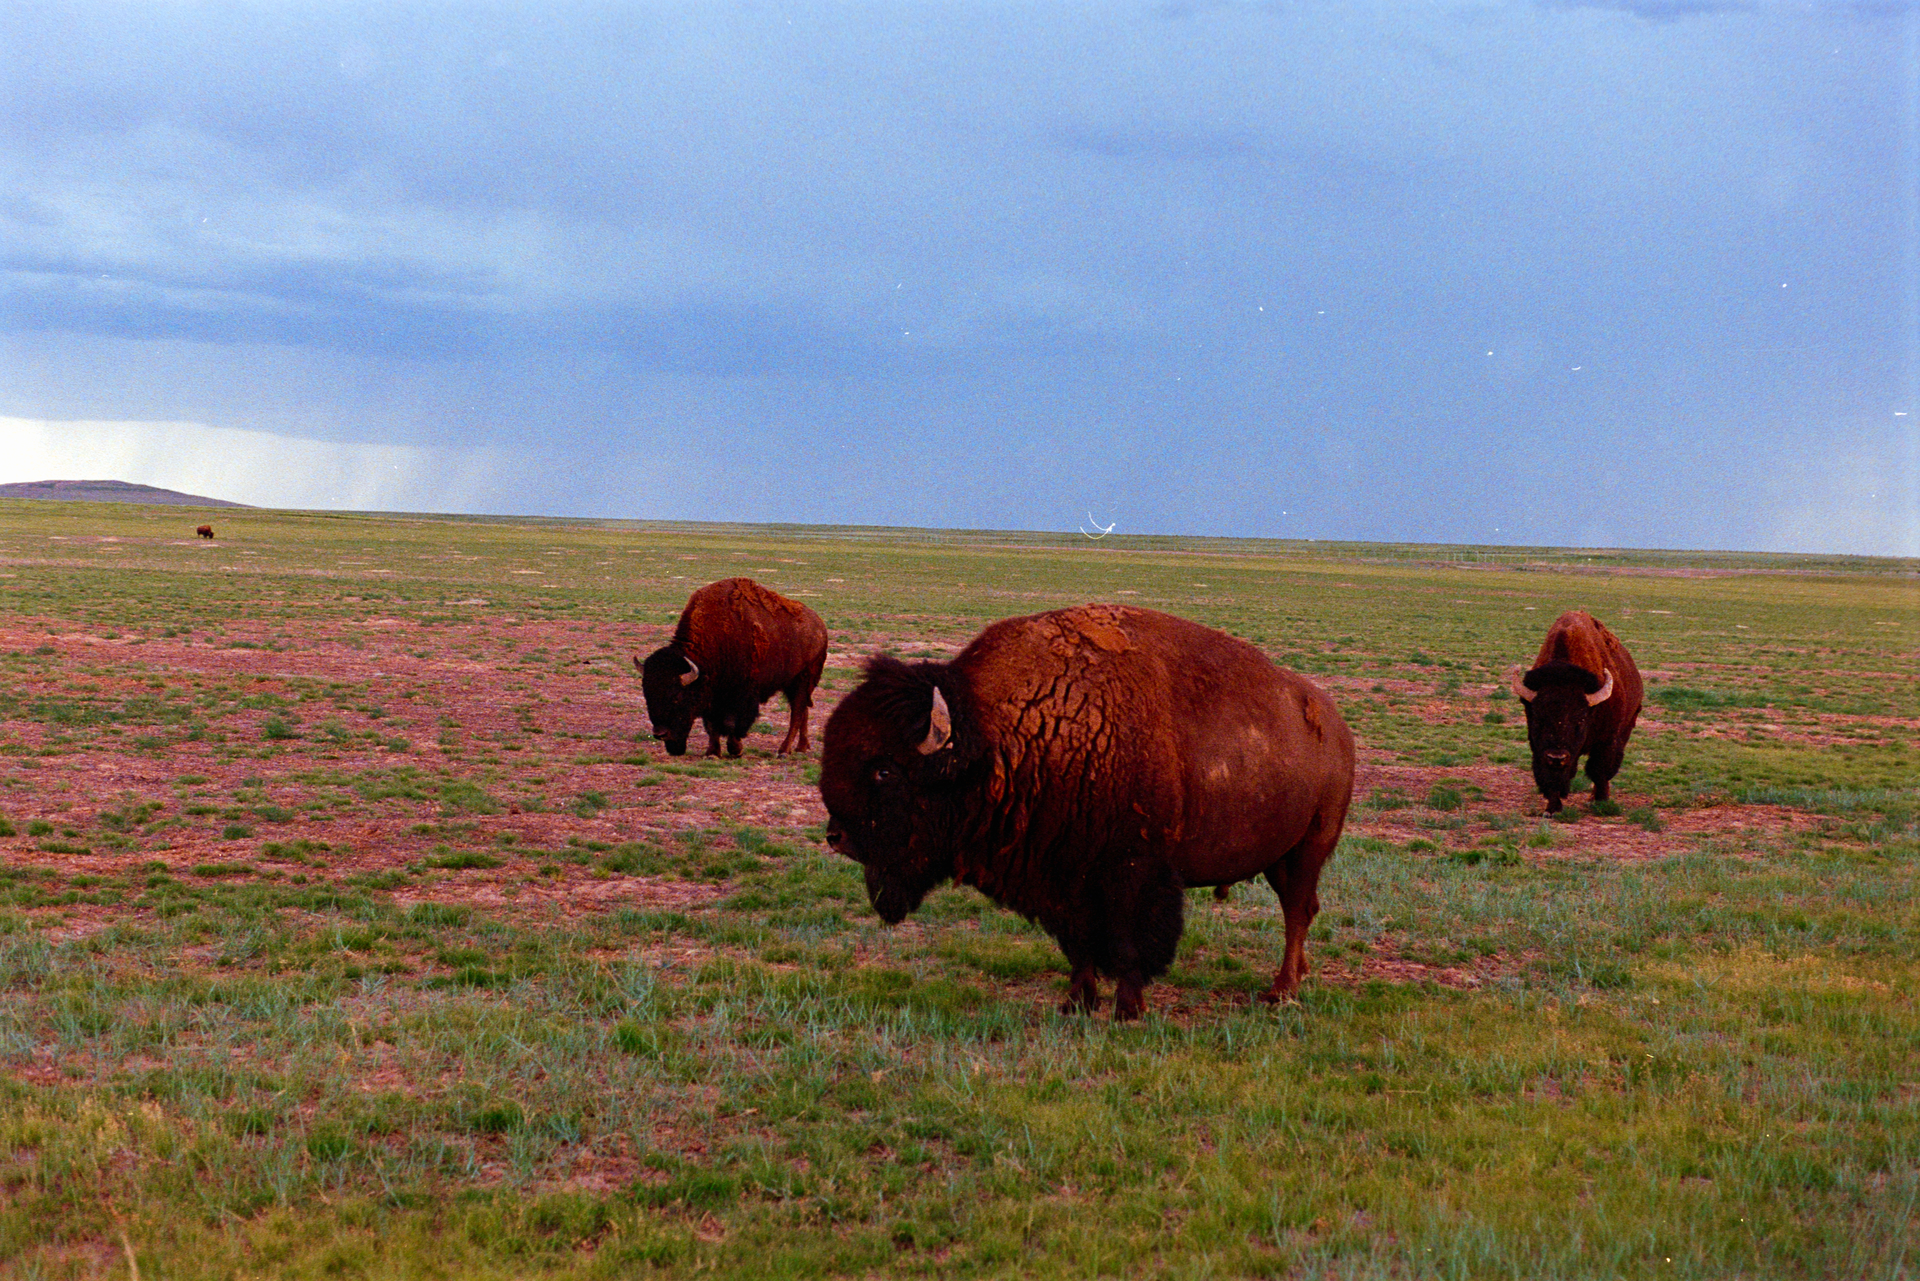
OK, maybe someone call help me understand what I did wrong here. I scanned the same negs with seemingly the same settings on my camera, yet received vastly different results.
I’m sure it’s user error… just not quite sure what. The ONLY difference is the first time I didn’t crop out the black film strip before converting. I much prefer the first results. Any clue?
The only other difference was the first scan was on a 120 holder so lots of light came through. When I scan again that way and reduce the brightness on import, I get something more akin to the original which imo looks less noisy, more balanced, and more like Kodak Gold 400.
Anyone have anything to add on why this might be the case?
NLP converts negatives adaptively. It checks for black and white points and adjusts the tone curves accordingly. Adding or taking away a black or white border can therefore change results considerably.
Forgotten cropping can, in many cases, be compensated by setting the border buffer on NLP’s first tab.
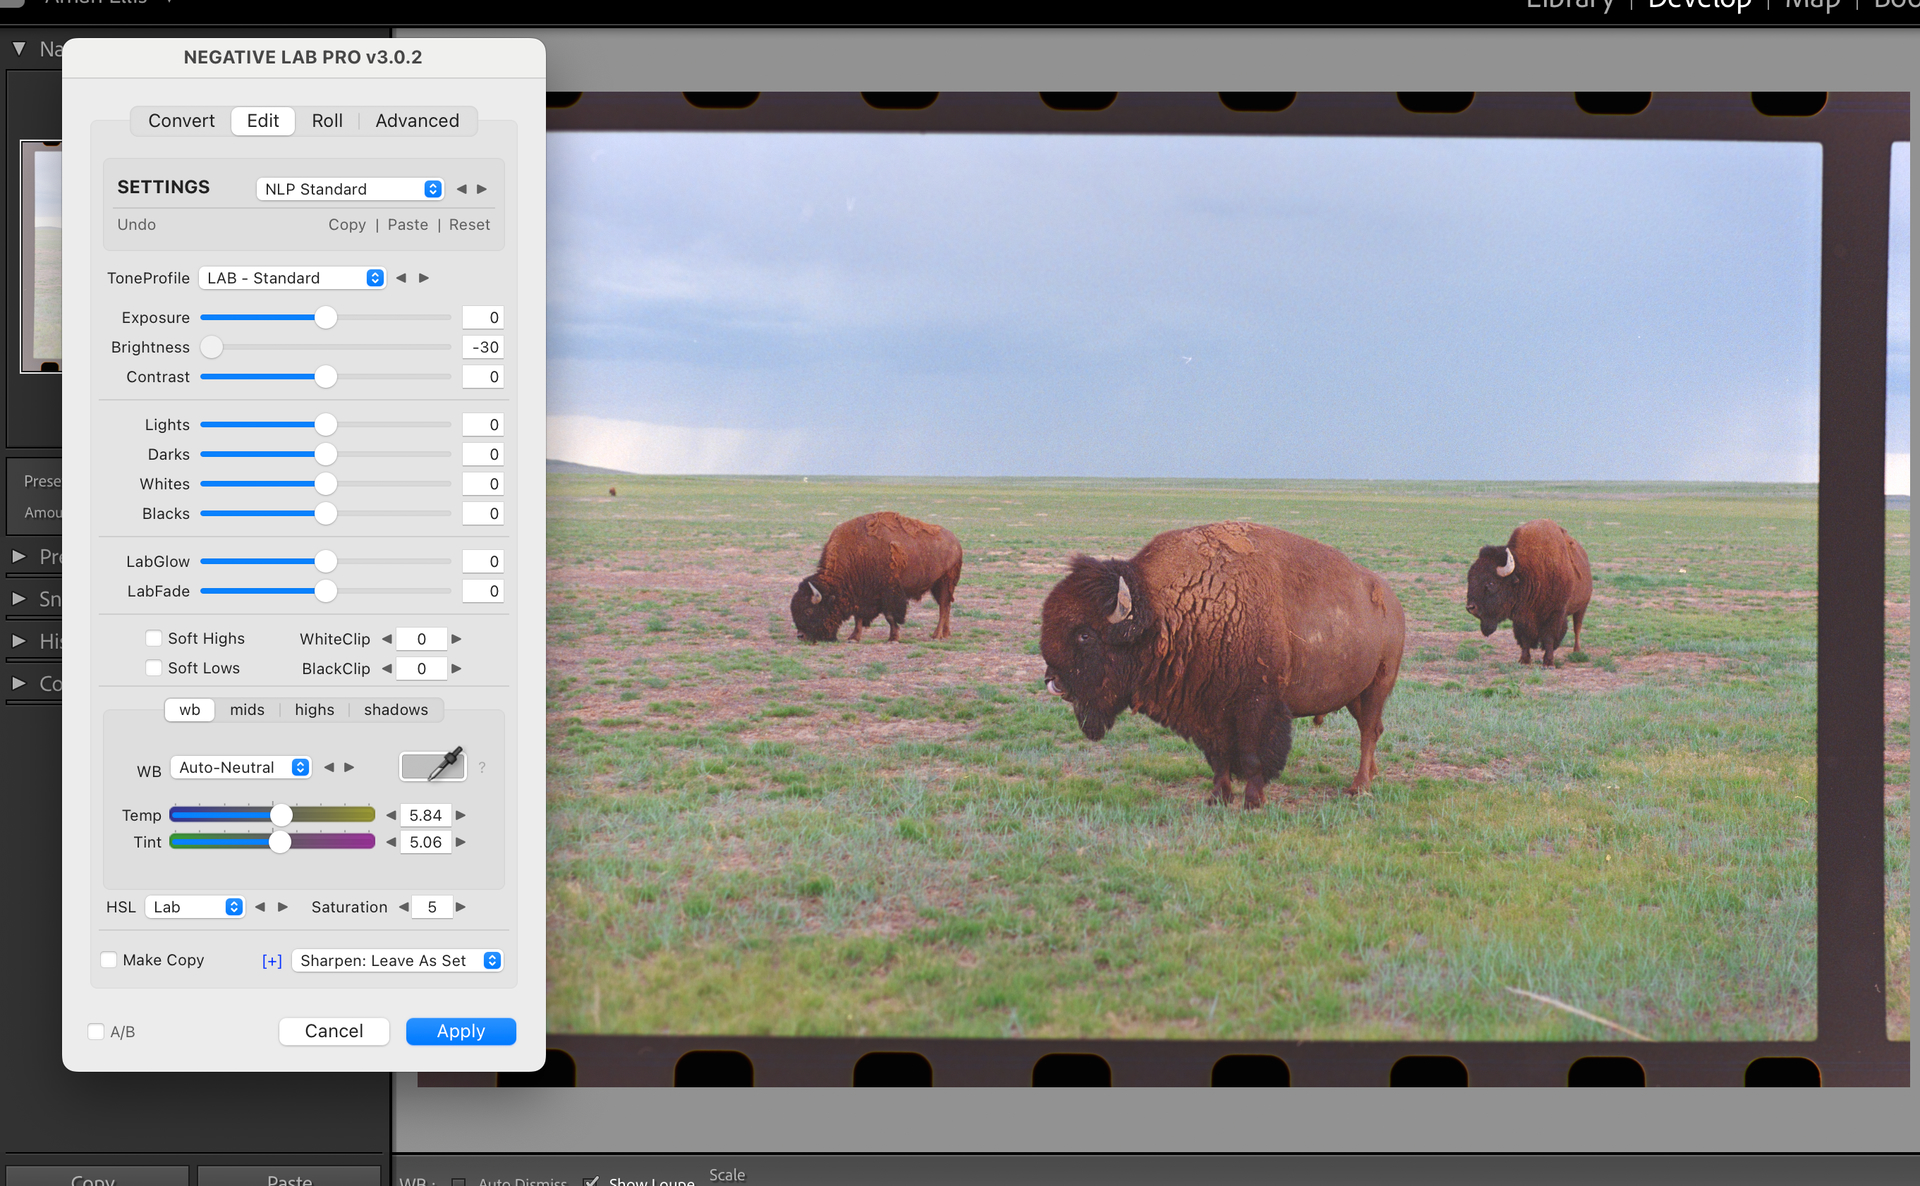
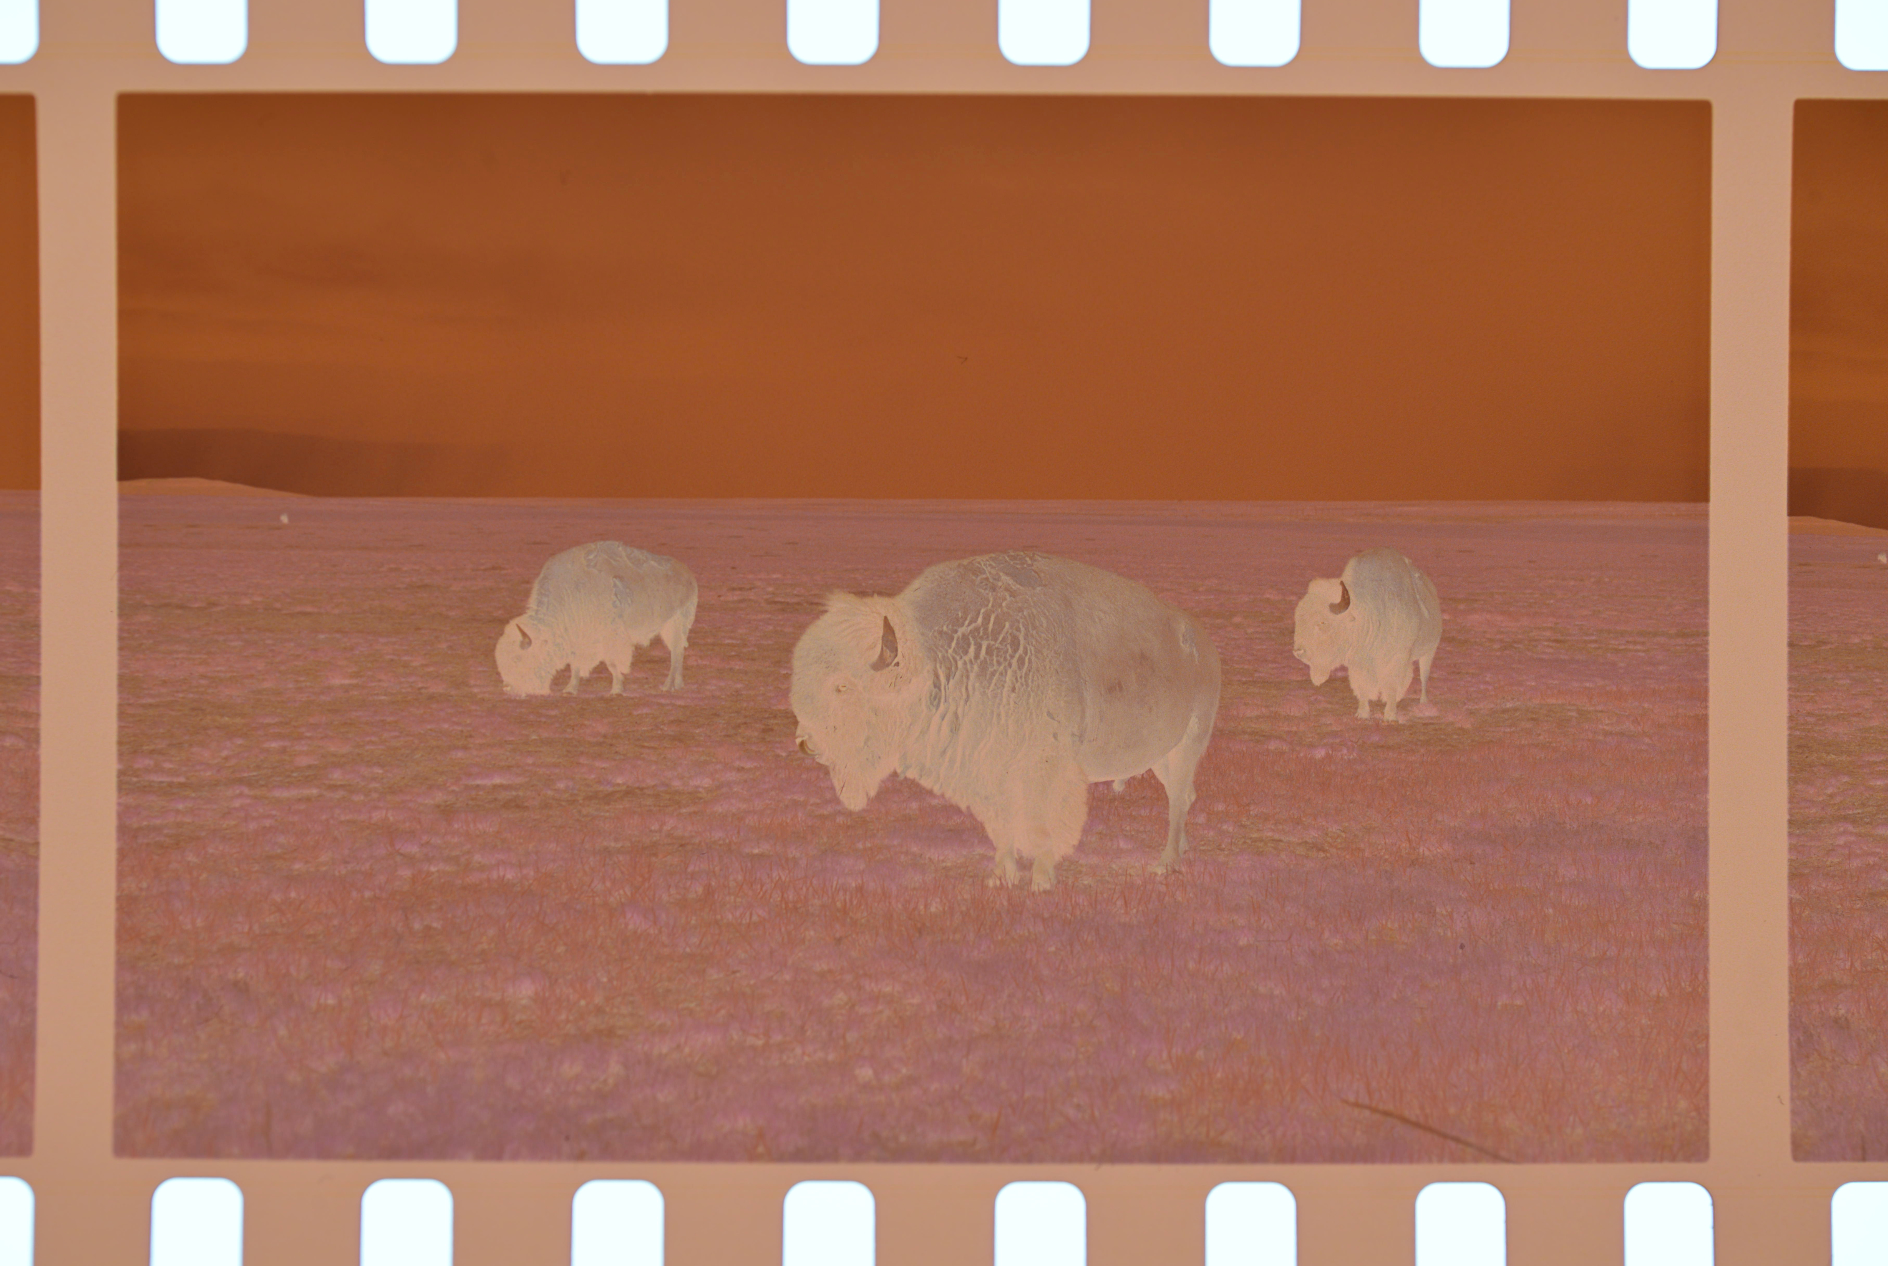
BTW, while posting converted images seems logical somehow, they don’t help much. Giving feedback can more easily be done with a screen capture of the unconverted image, its histogram and NLP’s first tab showing what was set. Posting (a link to) an original, unaltered RAW file opens the door even wider.
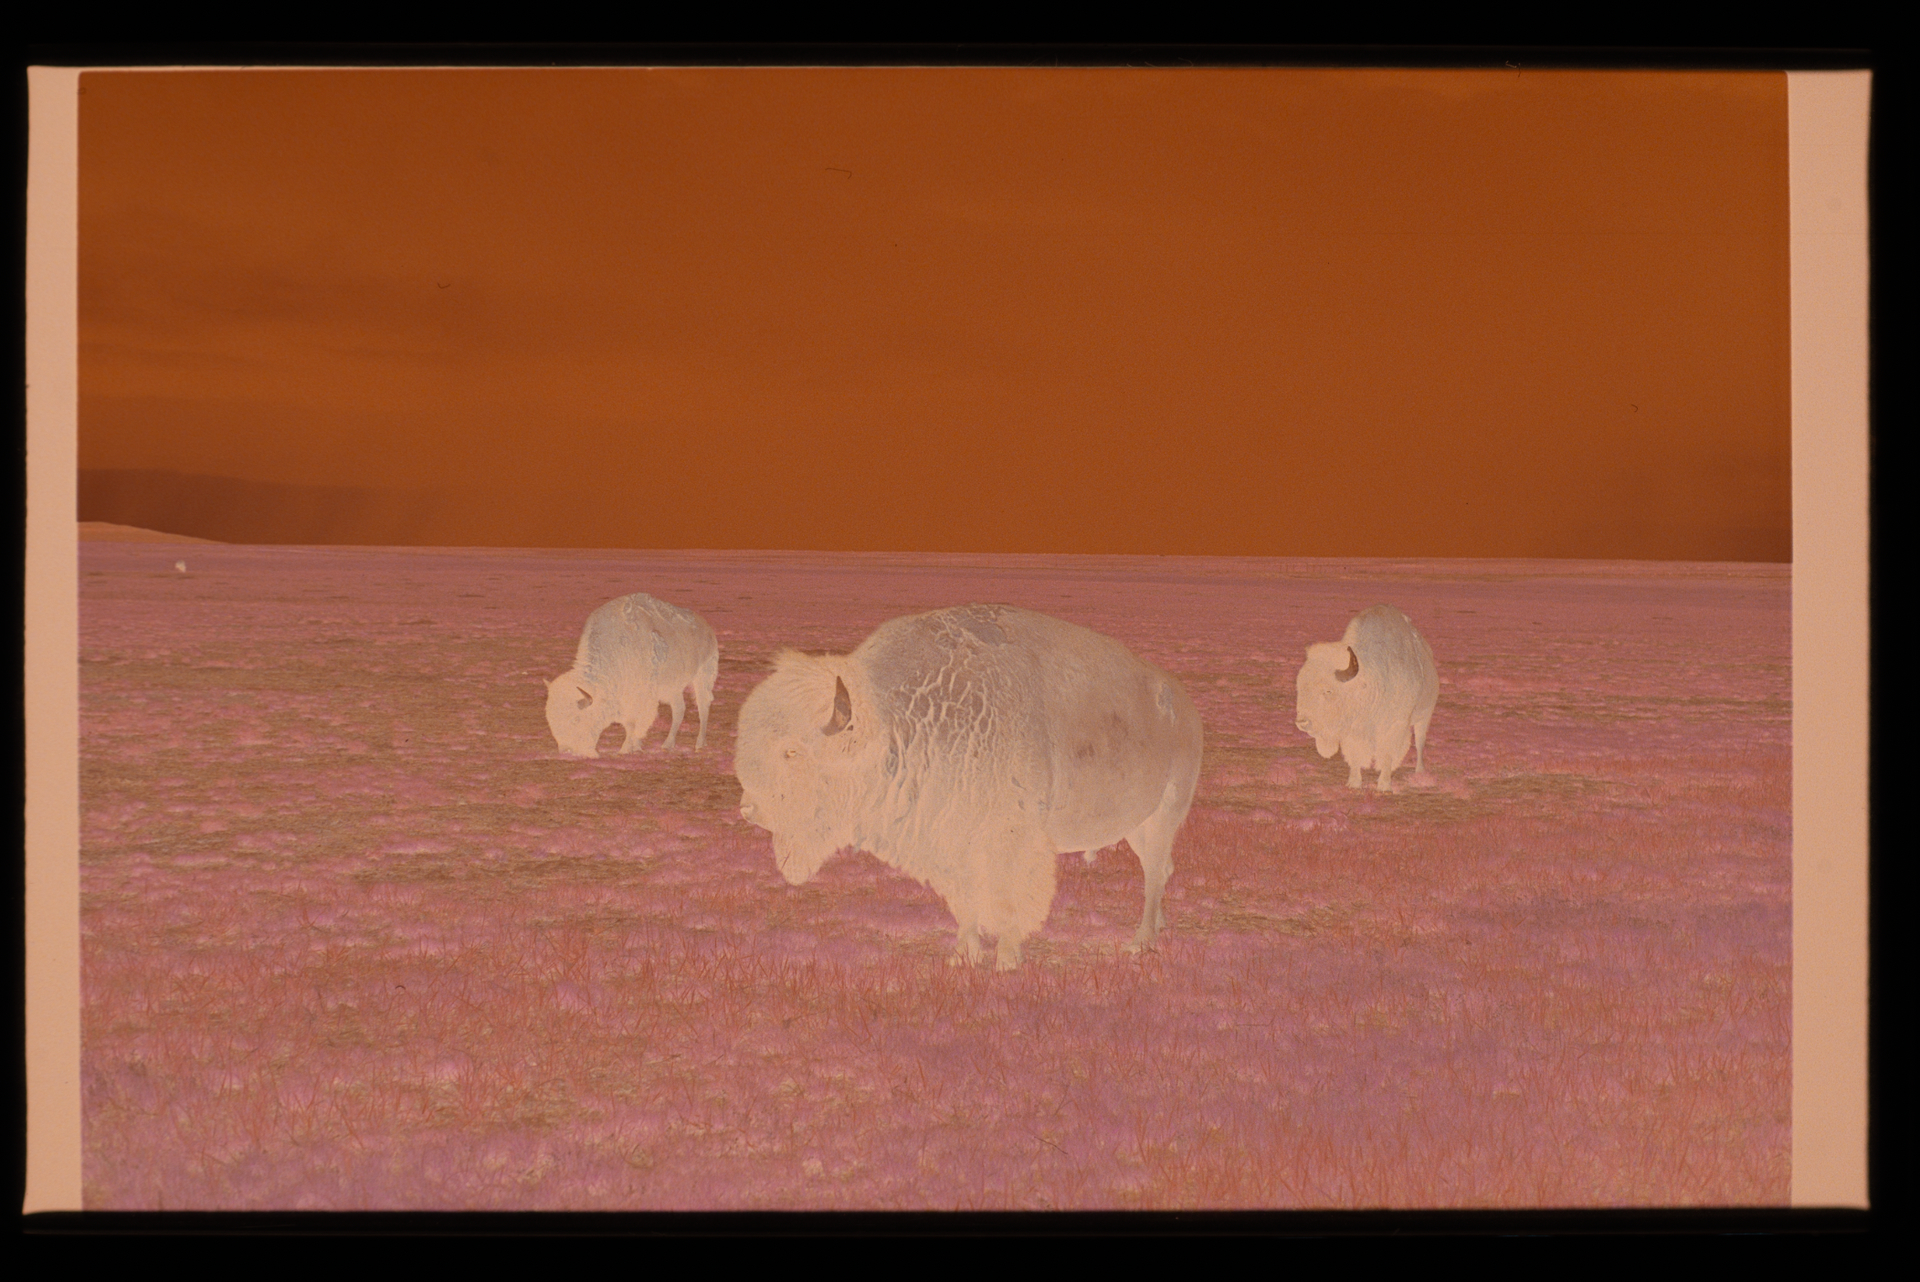
From left: negative, converted with BB=0%, converted with BB=25%
I set BB liberally, it could be set to less than 25%. It simply needs to isolate the image from the rest.
1- Do not let stray light into the capture - therefore no sprockets - ever.
2- Before white-balancing the negative, eliminate (crop-out) all evidence of borders, except for one of the side strips you may need for white balancing (see 3).
3- Use the Lr eyedropper on a blank (unexposed) piece of negative to white balance it - say one of those image divider blank strips, or if you have cropped those out, another piece of identical blank film, Whote Balance it, then use that for synchronizing the WB in Lr.
With those steps you will have correctly neutralized the orange masking, but you still may not have exactly the colour balance you want. If it’s an overall colour bias, use the temperature and tint sliders in NLP to correct it, or try the various presets in that portion of the NLP edit menu. If it’s limited to certain areas of the photo, then use Lr’s masking tools and masking edit menu to adjust.
Gave the images a try with NLP 3.1.0 b11 on LrC 13.4 on macOS 14.7.6 on 5k iMac 2019.
Tried with and without crop/white balance/exposure correction … and results were almost identical.
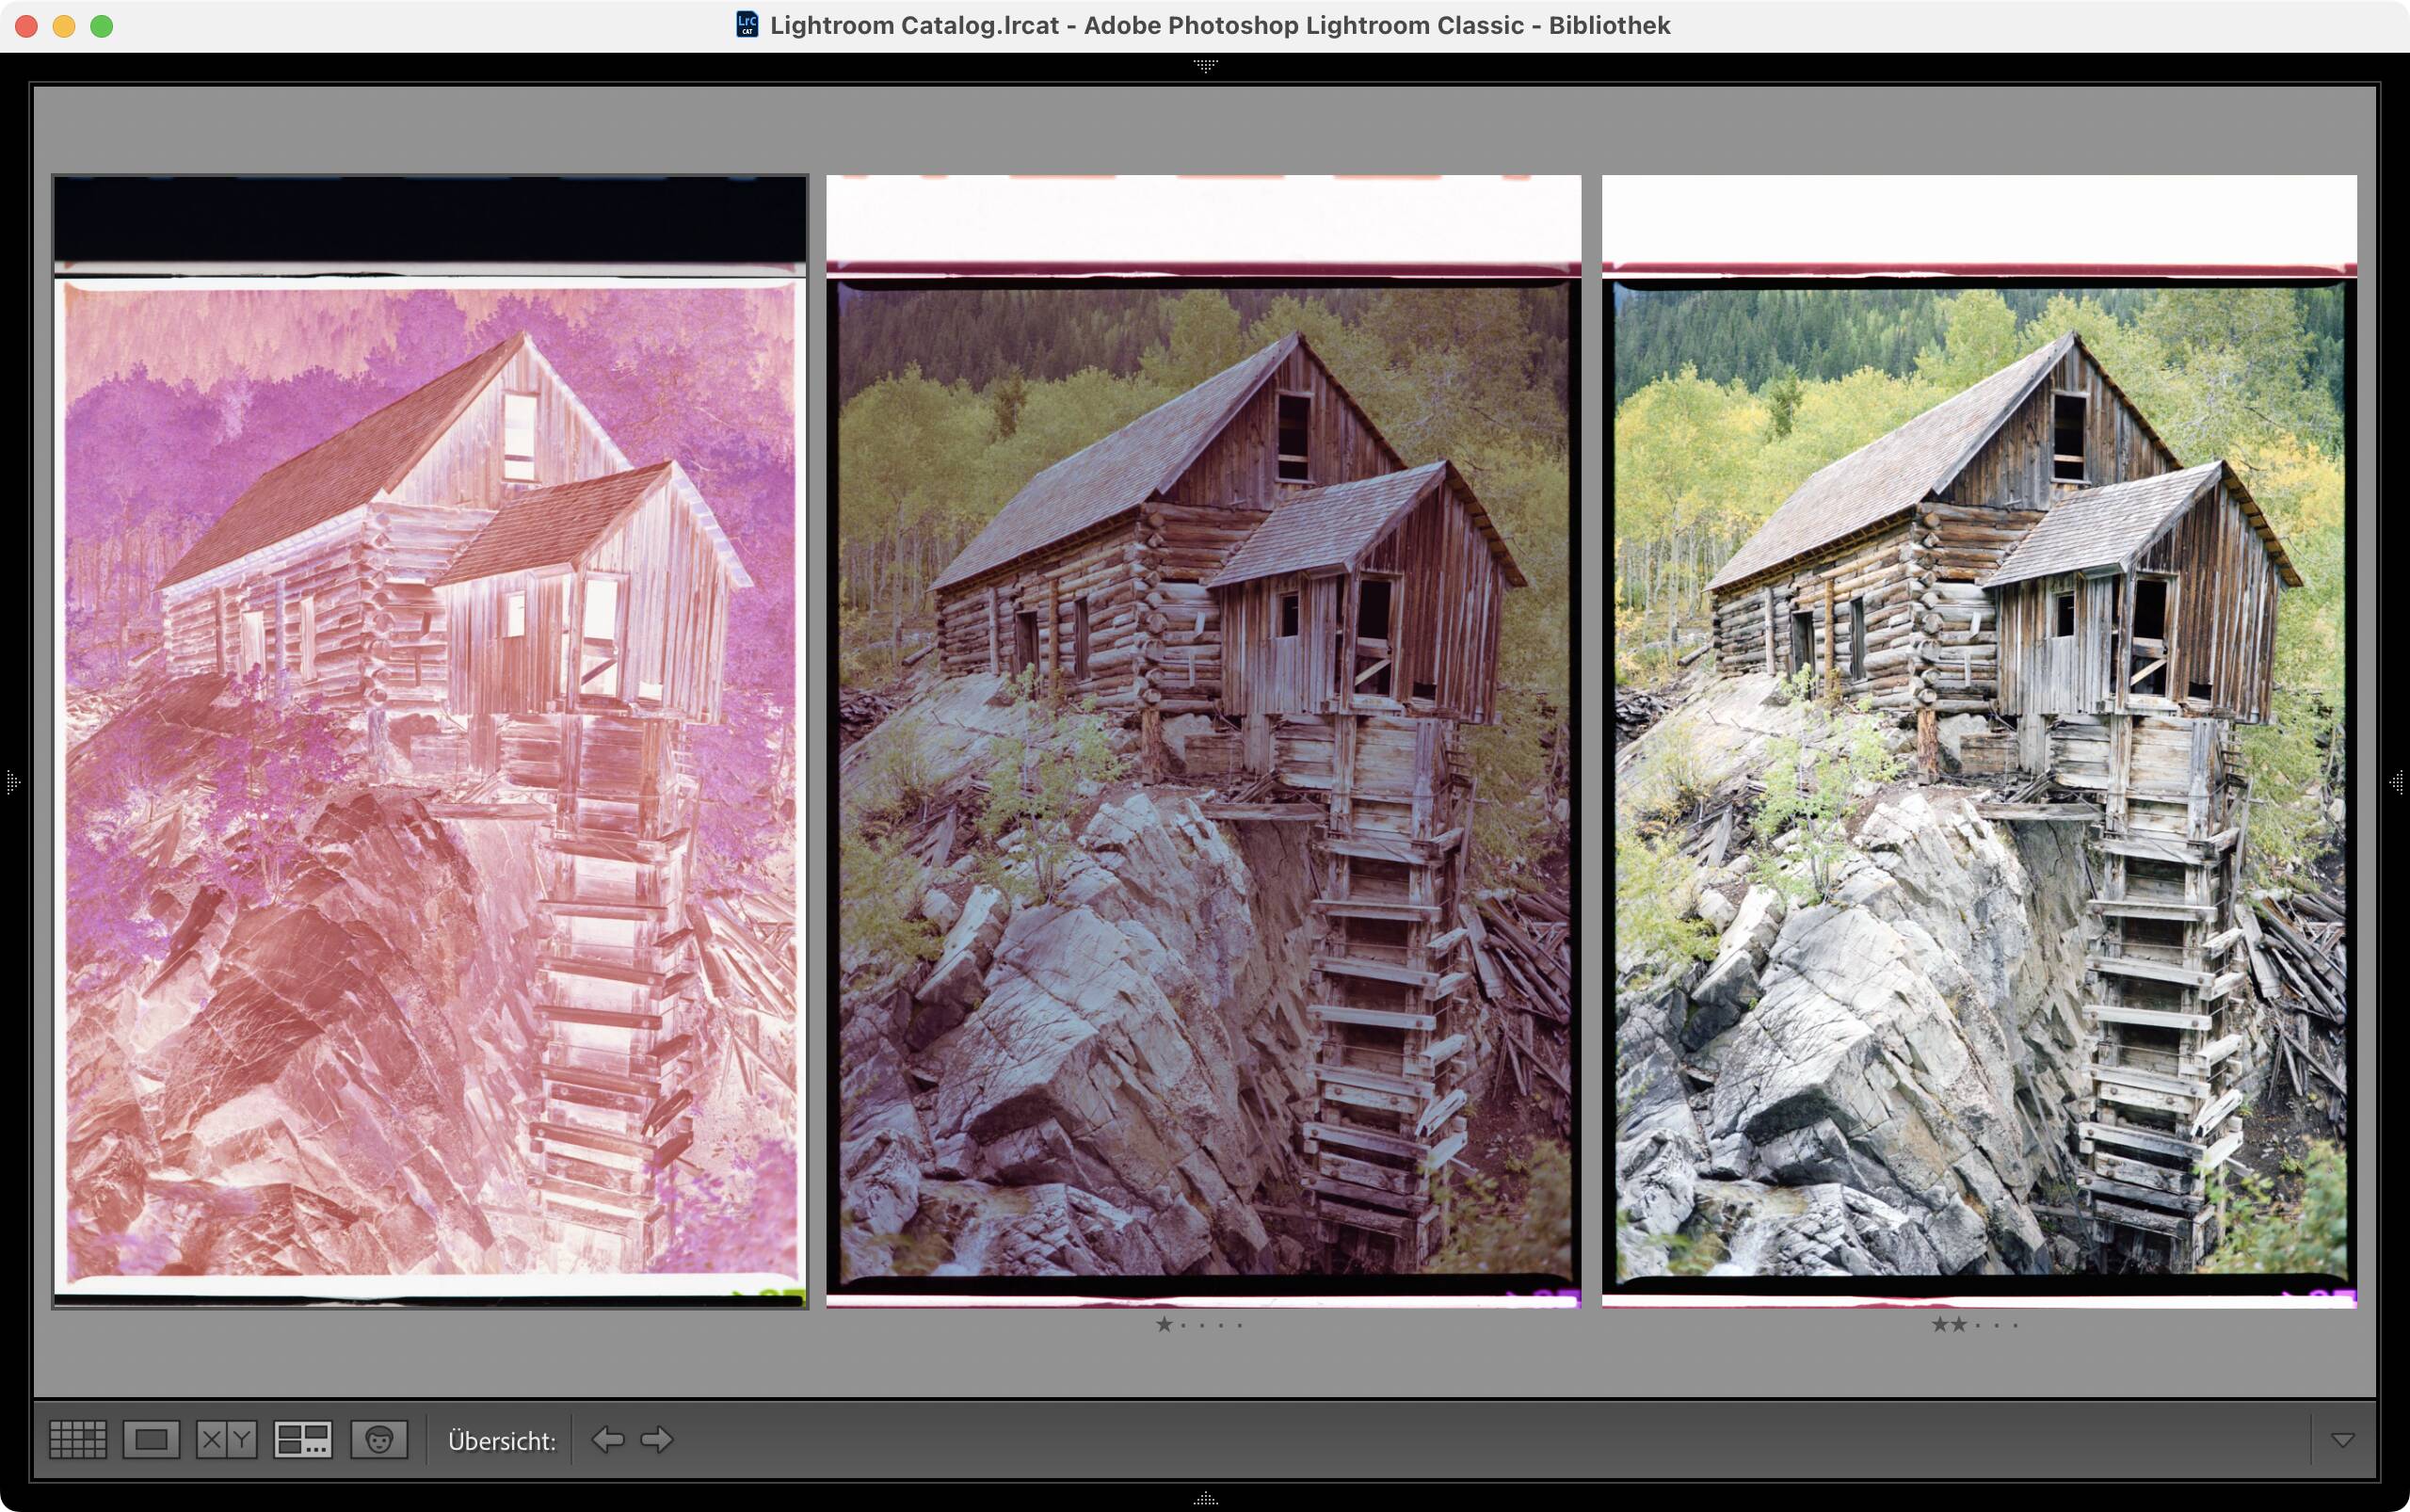
These images were converted without WB and crop, but with a border buffer of 10% which eliminates the mask and rebate areas around the images. Again, film rebate and negative holder parts weren’t considered for converting with Color Model = Frontier and Pre-Saturation set to 1…5 as shown from left to right.
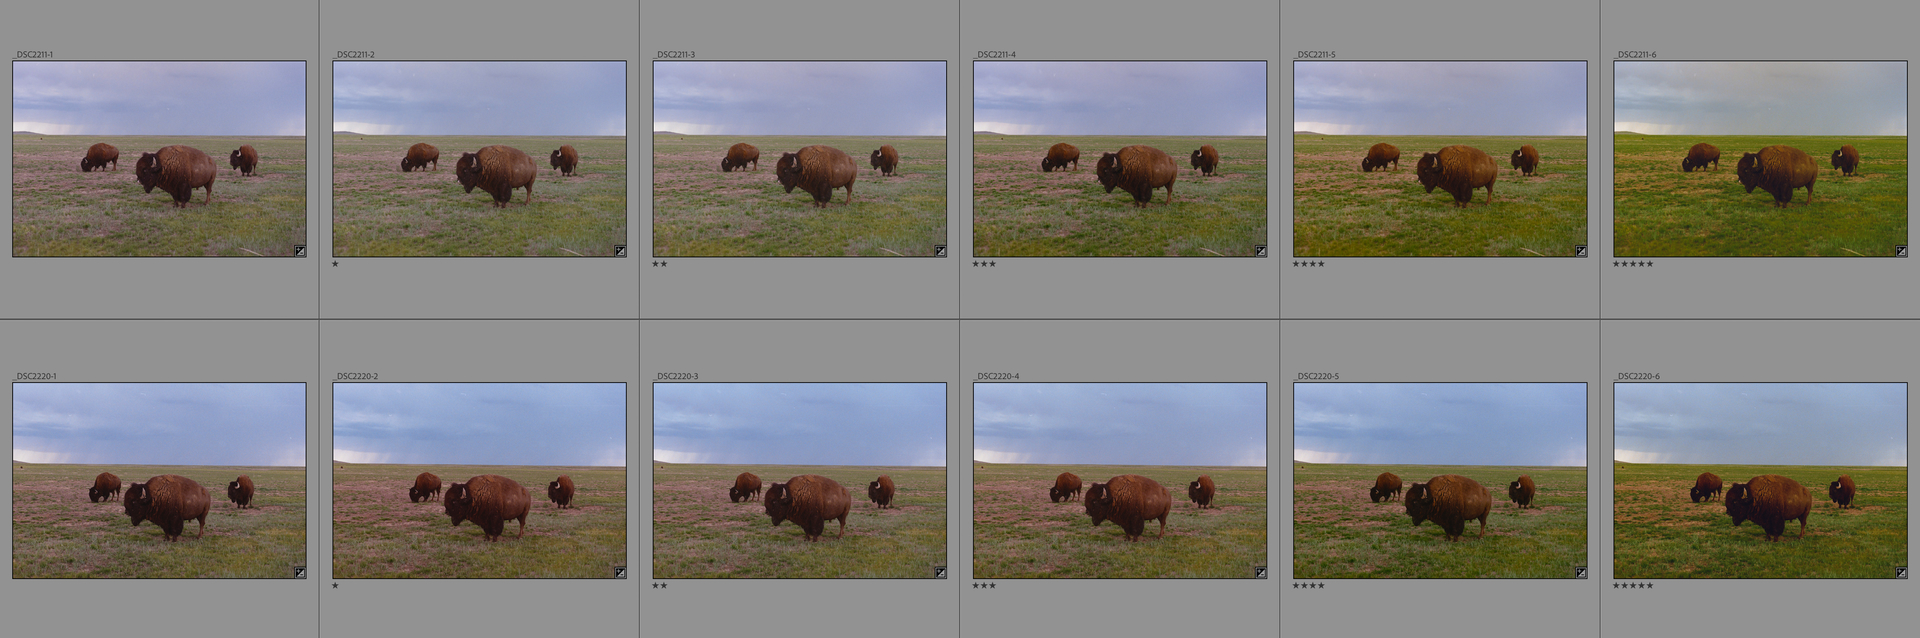
As we can see from the unaltered negatives, the two captures differ in tonality and colour and the resulting conversions are therefore different, but way less than shown in the original post. Changing pre-saturation can change the chromatic character of an image as shown above. Overall, exposures look okay, but could be increased by about one stop. Here’s a series of conversions of the captures, developed with added third stops (count the stars) and exported as TIFFs, which I then converted with Frontier and Pre-Sat at 1:
Differences are more obvious in Lightroom than as shown in the screen capture. Nevertheless, we can see that exposure influences the looks of converted images.
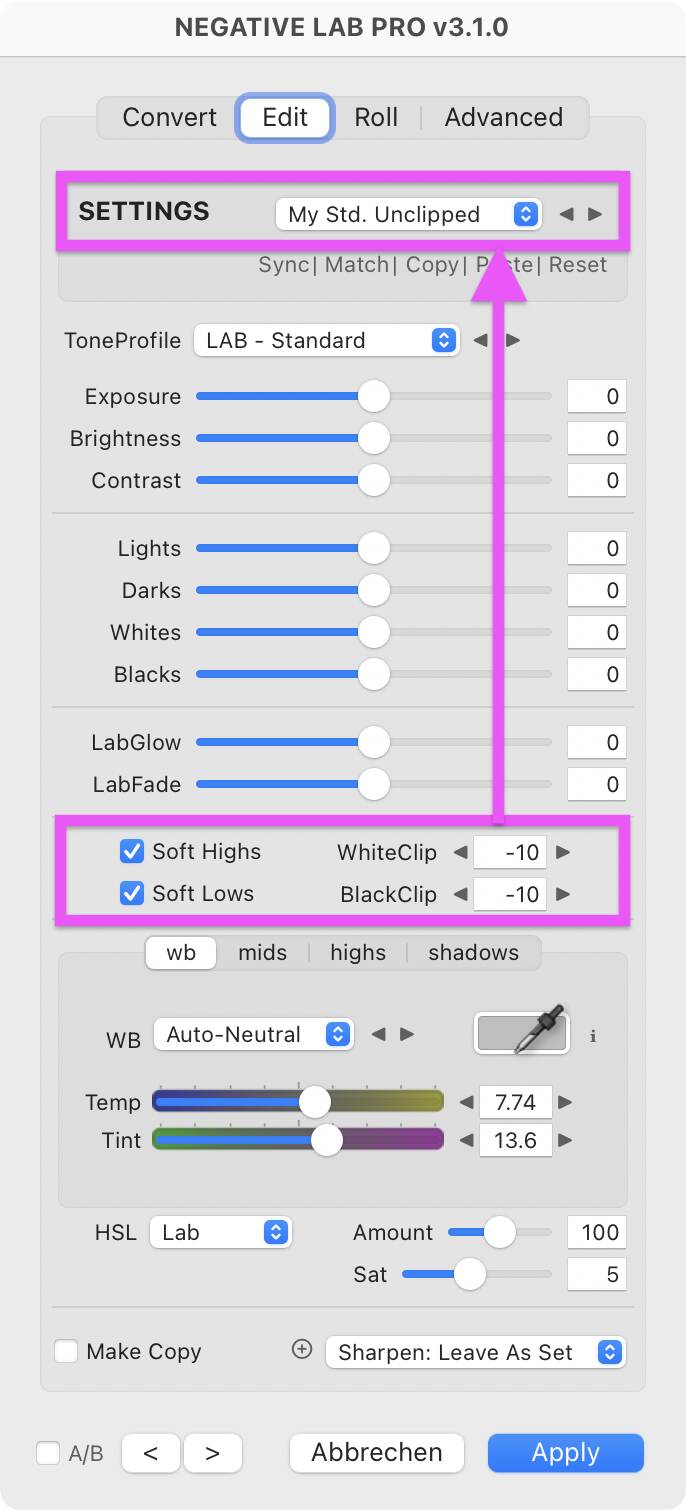
My default setting is derived from NLP Standard, and the only changes are marked here:
I will say, following your flow I got the negatives pretty close but the tones are still slightly different. Either way, it’s vastly improved from the previous conversion.
I guess my question is, this doesn’t exactly follow the guide where it says to adjust white balance before conversion. Is that not best practice?
Rules are not intended to be bent, but if they don’t work as intended and exceptions do…?
NLP uses an adaptive approach where tone curves are shifted, tilted and bent to produce black and white and reasonable greys in between. So, if all roads lead to Rome, it doesn’t really matter where you start from, except that it matters occasionally/often/always…
Following the guide is good practice and it helps to get usable results in a short time. I’d say that modern films fit the guide fairly well. The negatives I convert are fairly old, many of them with estimated exposure, low and mixed lights etc. And even in these cases, NLP converts to something that is close enough to work with. But occasionally, the material is asking for more creative approaches and sometimes, a manual conversion will do better. And if nothing else works, B&W will.
I often limit NLP’s scope by setting border buffer to its max. 25%, I’d even go to 40% if it were possible. Substantial improvements are possible with roll analysis - provided that the scans of a roll be made with the same exposure.
Occasionally, the following can improve results too:
converting an HDR combined from different takes
(auto) adjusting an image before converting
Due to NLP’s adaptive way of working, some variations remain and might need adjusting during or after the conversion.