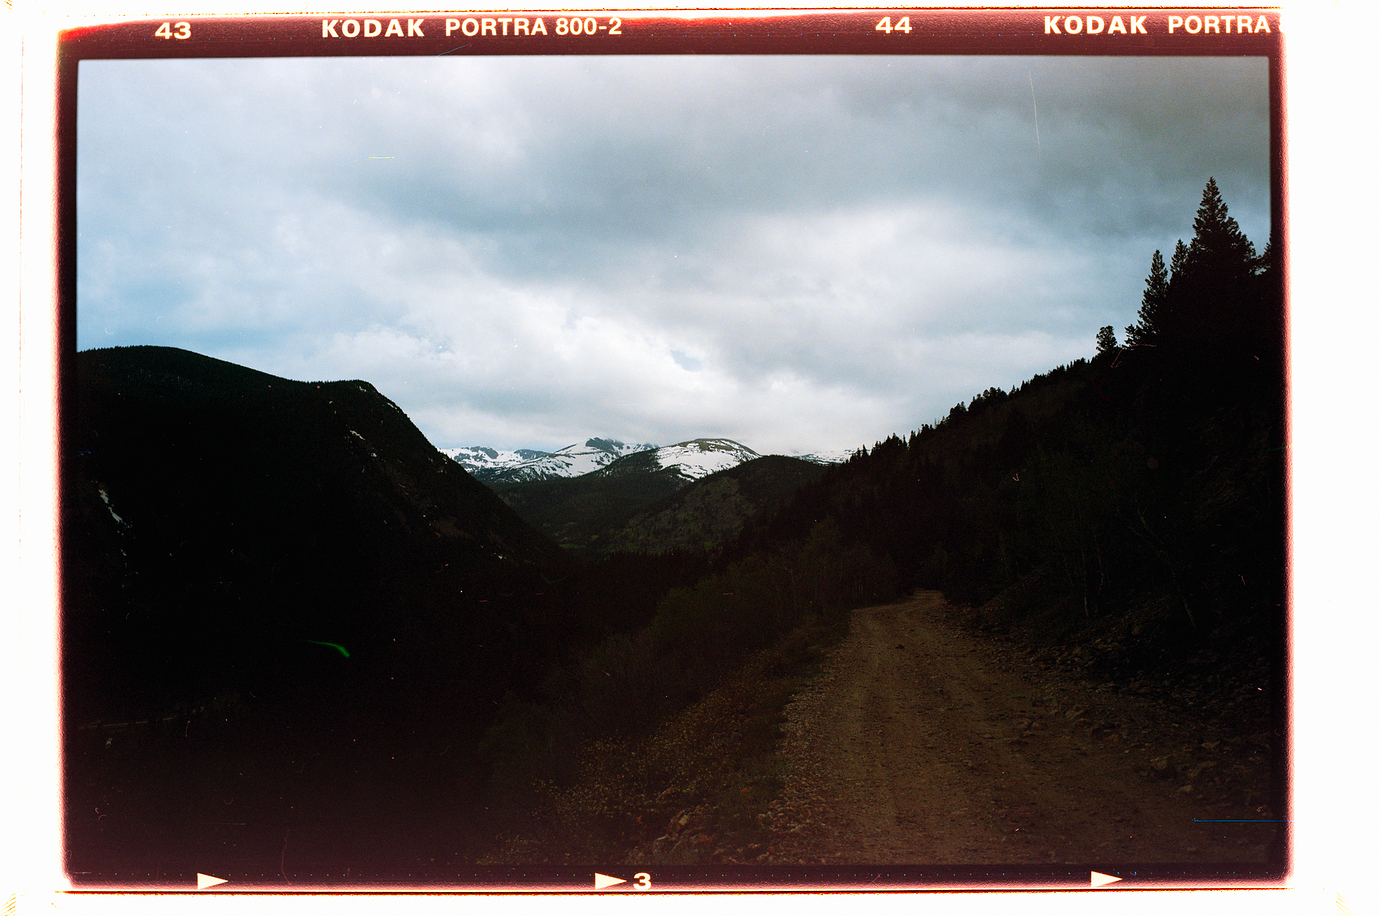
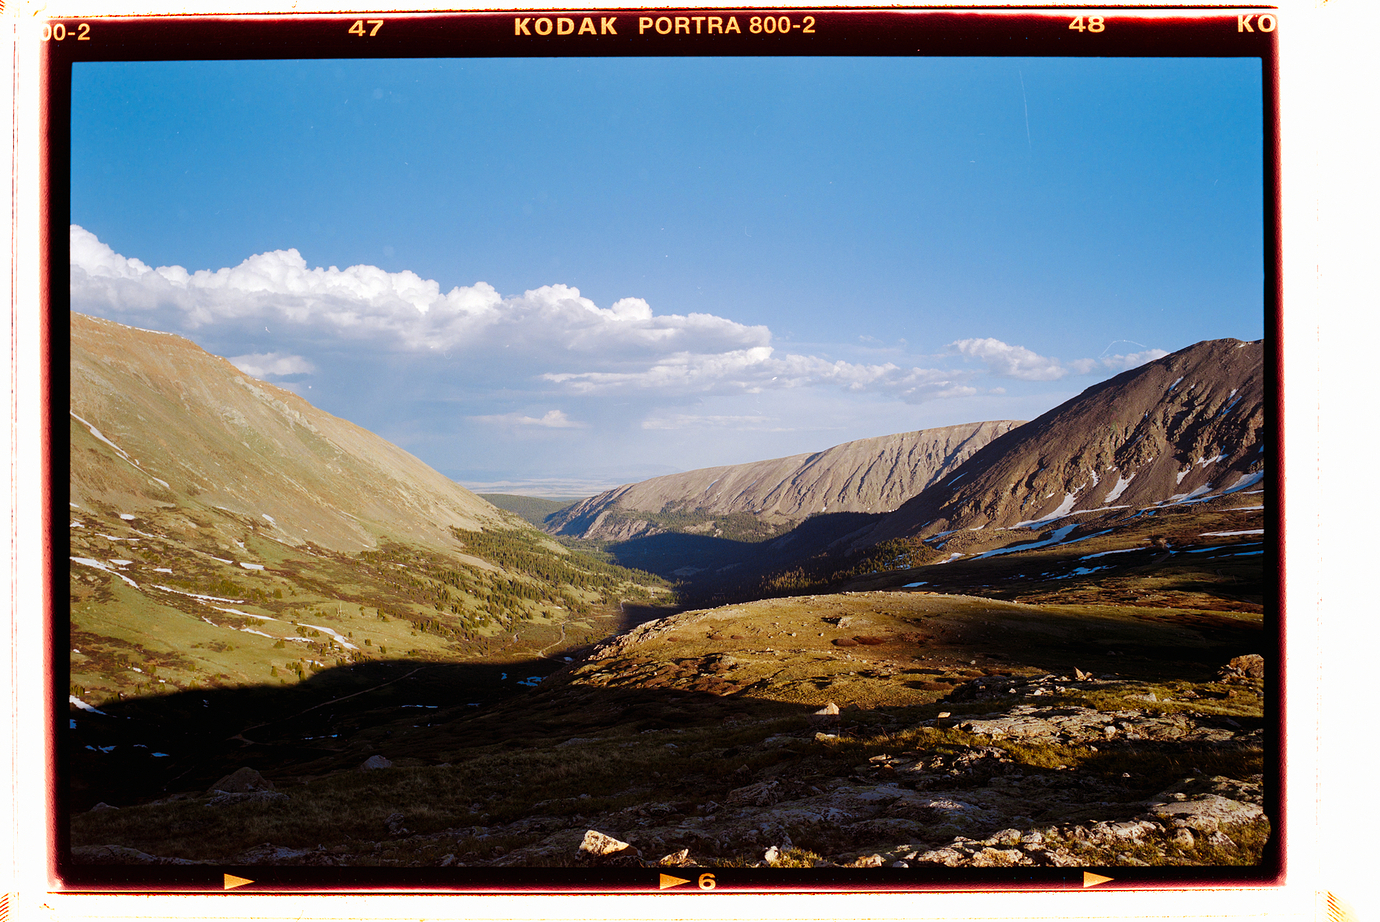
Thanks and apologies for the delay. Here are the negs SOOC and an image of my light source.
This looks like light bleed due to the negative not being held perfectly flat in the film carrier. Additionally, the thinner the negative (exposure), the more likely you will see such fog. Try bracketing your exposure in 1/3 stop increments, using 100% full manual exposure control (FIXED ISO, shutter speed, aperture). Find the exposure that works best for most of your scans, and use that for entire rolls. Maybe fudge it a half stop or so for very thick, or very thin negatives.
It also helps to mask off the light source completely, so only the light going through the film is available to the lens. Dim the light in the room. Surround the space between the negative and the lens with black velcro or velvet material to absorb stray light. Use a film holder that keeps the film perfectly flat during exposure. All these strategies can help avoid the problem you see.
When all else fails, the vignette tools in LrC can help hide the effect.
Many thanks for the help.
What’s interesting is that when I scan my 35mm on my 120 holder (so that I can include the sprockets) I don’t get this light leak.
That is puzzling.
Another issue I’ve seen is with old negatives (in my case, Fujicolor 200 and Vericolor II from the mid-1970s), where the dyes have faded unevenly, and color balance shifts from the center of the frame to the edge. It’s a pain. Some frames show very irregular shifts in color, while other frames don’t.
Had a look at your captures in B&W and DxO PhotoLab. Any other app would do too.
-The upper row shows the source images in B&W, the backlight image has been enhanced.
-The lower row shows the enhanced backlight again and manual conversions by tone-curve-flip.
Taking a look at things, we can notice that…
- the backlight image shows some de-centred vignetting.
- the backlight image shows reduced brightness in a band near the lower RH corner
- the landscape parts of the two LH negatives are fairly thin, check the selected negative
- the landscape parts of the two RH negatives are denser compared to the LH negatives
- the two LH positives show brightened corners at their lower edges
- the two RH positives have good contrast and detail rendering
My take
- Darkened corners (supposed cause: lens setup) as seen in the backlight image make NLP render brightened corners with thin negatives, but not with denser negatives
- NLP stretches tonal range (widens the histogram) in order to present a “decent” conversion. NLP has to stretch images with narrow histograms more than those with wider histograms. And the closer the histogram is to the left, the less numeric values can be used and errors get bigger by the stretching.
Steps we can take to improve the situation:
- Increase exposure, specially with low contrast negatives, try bracketing and HDR
- Get rid of vignetting caused by the setup or try to fix it in post with a radial mask
Looks to me like uneven backlight not noticeable on smaller 35mm negs. However, the brightness falloff towards the corners (or from the centre) becomes more of an issue with medium format negs. I have experienced it myself. Maybe the enhancement sheet hot-spotting like a lenticular projection screen?
Yes, as I said above, these ‘enhancement’ sheets may be contributing, best to test without and compare.
Or maybe it’s the CS-LITE itself? Try moving it sideways?
This could also be the source of your problem... if the diffused light source is too far away from the film, the center parts of the film will receive more light than the edges… the areas receiving less light will then appear brighter and oranger when flipped.
This would explain why flipping the image still produces the same issue in the same place.
This might only be noticeable on thinner negatives (since it will get stretched more by NLP).
As an experiment, try taping your film negative directly to your light table (you can also add a mask to block out surround light from the light table). This will let us see if it is the Valoi holder causing the issue.
Another thing you can check is to make sure your aperture is f8 or higher and that you have lens correction turned on in Lightroom with the appropriate lens selected.
-Nate
Thanks all.
I tried removing the light sheet and I’m still experiencing the vignette. I will try Nate’s experiment next.
Hi Nate, taping the neg right to the light box resulted in slightly better vignetting, but its still there.
Is it safe to say it’s the light box + holder?
Edit: realizing now I should have test this with the same image above for comparison.
To me the first of these images shows that ‘the effect’ extends beyond the image area into the film border, as it did before you removed the LiteBrite sheets so whatever is causing it seems to be independent of them.
However what is the second image please? If it is the panel on its own what are the precise details regarding how you photographed it?
Good call. Yep, second photo is the light source shot at 100 iso, f/8, shutter auto on Nikkor Micro 55m.
Thanks, I think that the images of the backlight that @Digitizer provided above do show vignetting and I assume that is from the lens rather than the panel( I also have that lens). Is it a CS-Lite, I can’t remember if you said? He has enhanced them so I presume (?) that means a contrast boost and as he says that will lead to brighter corners when inverted and ‘stretched’ by NLP.
I presume that when you photographed the whole panel it was from further away and so would not suffer from the same degree of vignetting. However when you photographed the negative taped to the panel I imagine that it was at more or less the same magnification as when you copy it in your holder and so does illustrate the same effect of vignetting, I think the key clue is that ‘it’ spreads into the rebate of the frame. It is exacerbated by the fact that the negative is under-exposed which I think will explain why you don’t see it all the time. however it is always there so some kind of correction (radial filter or Flat Field Correction) should fix it). Somewhere @Digitizer gave very good instructions on how to create a radial mask in Lightroom.
@Digitizer describes how to make a Radial mask here:
I upgrade to the NS Light Source Mini and 120 Full Border Film Holder.
Still not getting good results, I don’t think this is for me. ![]()
Some seem decent, but really not impressed with NS especially for the price.
In variation to something Ansel Adams is said to have said:
you don’t get good results, you make them … or
If conversions don’t meet your taste, work them until they do.
A few edits can change things…but you might be after something else.
Automatic settings (lifts shadows in ths case)

Add a few more manually (to get whatever you want)

Again, NLP provides a starting point that you can edit to taste.
I wasn’t convinced that it was the panel, the CS-Lite, though I did wonder if removing the enhancement sheets might help, though they weren’t contributing to the problem either. My feeling was that it was caused by slight vignetting from the lens which was accentuated and made obvious on under-exposed colour negatives.
Looking at the NS page on their 'Light Source Mini’ I see that the illuminated area is only 3.75" x 2.5" (95mm x 64mm). For comparison the CS-Lite is 5 7/8" x 3 3/4" (150mm x 95.25mm). Though it certainly isn’t even right to the extreme edges it is very good for, say, 130mm x 75mm. My 6x9 frames are 56mm x 82mm and then if you go ‘full border’ you’re probably getting 60mm x 86mm, maybe more.
That is tight on the NS Mini with their full border cassette, and I notice there’s a little asterisk that points out…
*120 film will need to be scanned with longer than a 60mm+ full frame equivalent lens
So it seems that they are anticipating problems themselves, did you try a radial mask with the CS-Lite?
I tried the radial mask, but I’m looking for a workflow that doesn’t require that much editing and is much quicker. The problem with some of the vingetting in the scans is that it’s not always even on each corner, so a radial mask doesn’t always work right. I’d have to have four seperate masks with varying degrees of compensation.
Good tip on the 60mm lens. I ordered an inexpensive 105mm macro, let’s see how that does. ![]()
I might go back to the CS-lite…
Thanks for the help, and I do think some of these are salvageable. What I’m really after is 1) no vignette, and 2) full border without the orange, and 3) a flat negative.
What is giving this orange border, any clue?


