This is my setup in detail, along with some valuable links and references, and a free plug for NLP and the EFH with Viltrox panel.
1 Like
I use small rubber stickers under the four foots of my EFH. Works perfect for me, nothing it moving or sliding and it stands directly on my LED panel.
Very cool guide, thanks for sharing!
Finally remembered to take a picture of my setup. Pretty basic. Tripod with my Pentax K-1 and 100mm Macro. Then The Essential Film Holder on a cheap $20 led light table which are taped down to keep from moving. All on the kitchen island. Works pretty good.


Here is a picture from this scanning session.
2 Likes
Wow what a diverse collection of DSLR setups. Very impressive. I just completed mine with my D800E, PB-4, PS-4, 55mm f3.5 CA, Kaiser slimline plano, and some home made accessories. I like the Sony setup above that uses the Rodenstock. My old timer 55mm compensating aperture did pretty good on slides. I will be DSLR scanning negatives starting today. Nice bridge shot above. Looks like the St Johns Bridge in NE Portland.

1 Like
Well done. I would only make one suggestion. You may want to get some black paper and mask off the lightbox not in use. You are probably getting some light spillage into the lens which makes your scans inconsistent. Otherwise, good job.
Thanks. Didn’t think to do that. I’ll see if that makes a difference on a couple rolls that look like had some issues.

Fujifilm X-T30 with 7Artisans 60mm macro lens
Home built rig designed in Fusion 360 and printed with Ender 3 printer
Aluminum rail from Home Depot
Ulanzi VL49 Video light
Plexiglass sanded down as diffusion filters.
The rig can be adjusted for other format negatives but I haven’t bothered since I have only 35mm negatives. I will add a 35 mm slide holder.
Once the focus and alignment are set, I scan a few rolls, import into Lightroom, adjust temperature and crop 1 image from each roll, sync adjustments to the rest of the roll, then NLP all images in the roll. Finer tuning is done on the best shots, the rest are left as NLP sets them. Have not yet tried photo enhance. I also rename as roll number and index like R123_1, R123_2, …
I’ve scanned over 5,000 35mm b/w and color negatives so far. Each roll takes less than 5 minutes to scan and about 15 minutes to process in Lightroom and NLP.
3 Likes
Boy…that is an impressive setup. I’m still trying to figure it all out. But I do got a compressor!
Yes, amazing what people come up with to do the job.
Impressive setup!
And beautiful photos.
I’ve only tested camera scanning. I have no setup. And as I said, I’m trying to learn about it to build a setup. I don’t like flatbed scanning negs and chromes, but I do tons of paper scanning with them. +/- 20,000 - 30,000 pages a year.
Here is a test shot I did to see if camera scanning was doable for me. Shot with an old Fuji 16mp camera. Not macro and heavily cropped. Very happy with it. Now just need to make a setup with higher res.

Thanks for everyone’s participation…great forum!
1 Like
Can you confirm that it’s a standard tripod thread mount on both the base of the head (where it connects to the tripod) and the, well, head of the head, where it connects to the camera? I’m a little confused by the listing description.
As you can see in the second image, the device is attached to the tripod collar of the lens and the copy stand. Both use standard 1/4 in threads. Moreover, the base is arca-swiss compatible.
Thanks for the reply. I’m also working on scanning tons of old mounted slides. Currently I’m using a “Mounted Slide Carrier” for an Omega enlarger. Just lay the carrier on top of your light source and once you have everything lined up, tape it down so nothing moves. Makes it very easy to whip through lots of slides in a short time. Best of luck with your setup, let us know how it goes. Cheers, John

1 Like
I’m using the Viltrox L116T, it was less than $40.00 and my exposures improved from an iPad, were noticeable better at 1/30 sec., f8 and iso 100.
It’s about the same size as the EFH.
Not as good as Pablo’s Relano Video Light LED, but still noticeable better than 5-6 seconds.
wow what an idea !!! But does it work well? What settings did you put on the enlarger?
It works well, if the camera has a screen that can be flipped up or out like shown in the picture or if you can tether your camera to a computer. The enlarger holds the negative and provides ample CRI 100 light and - if the bellows is long enough - provides protection agains stray light. For 1:1 reproductions, the lamp head has to moved down (in comparison to the shown image) and then, the bellows will extend over the lens.
You get the best light, if the filters are moved out of the way. Note that the Durst 605c has even illumination for FF negatives, for 6x6 negatives, illumination is not even, at least not in the enlarger I have, it might need some more cleaning and adjusting.
With this setup, I work like I used to when enlarging negatives: Standing up.
Hi all,
After a long absence, and many iterations on my scanning setup, I wanted to share from where I started to where I ended, as well as my process and thoughts to arrive where I ended with so many help from the posts here and elsewhere on the web. This is to give back to all who provided tips and ideas. Perhaps my findings are of use for someone else out there.
My starting point:

And what I ended up using eventually:


What I wanted:
- Rigid connection between film and DSLR with automatic alignment
- Reliable method to keep my film flat
- Possibility to use both collimated and diffused light
- Full-spectrum daylight light-source
- A way to tackle dust
- Good and reliable focus across the whole negative, i.e. a lens with “flat field”
- Options for 35mm, 120 film, and mounted slides
- No setup time
- Low-cost
How I arrived there:
I purchased an old enlarger and flipped it up-side-down. I then needed a reliable film holder with feedthrough, so I purchased some foamed PVC modeling board since that is cheap, easy to work with, and is a soft plastic that will not scratch my negatives. Using this, I constructed a holder as follows, that has an opening exactly the thickness of a negative. I simply glued some spare negative with 10 second glue in between two foam boards and chamfered the entrance and exit edges:


To remove dust when entering to-be-scanned negatives, I added two carbon fiber brushes for cleaning of LP records, one top, and one bottom:


I made in the same way a similar holder for mounted slides and for 120 film:

And used a square piece of opal glass below it to act as a diffuser of the collimated light from the enlarger. After many tests, I concluded that there was no real advantage in using collimated light, other than more dust showing up, as others had investigated in detail elsewhere on this forum, so my scanning is always with the diffuser in place now.

As a full-spectrum daylight source I purchased a Solux bulb (hard to find) and a transformer to power it, and mounted that in place of the old tungsten bulb that came with the enlarger:


Next up was finding the best lens option for 1:1 picture taking. I used millimeter paper in place of a negative and tried various reversed enlarge lenses (two Nikons and a Schneider), and ended up concluding that the Nikon 50mm 2.8 was best, but still showed some softness in the corners due to a not perfect flat field. Below are some pictures of a reverse mounted enlarger lens and a typical scan of mm paper, used to check for sharpness across the scanned area at 1:1 enlargement:


In the end, I purchased a used 105 f/2.8 AFD micro Nikkor that I mounted on its larger solid outside threat, using two lens hoods and a piece of PVC reducing pipe:

This way, the lens could autofocus by pushing it’s internals back-and-forth without moving the mounted camera up and down. This is perhaps a typical option for this lens, but this worked out really well, since I found out that I could re-calibrate the autofocus specifically for the 1:1 to 1:1.1 enlarging range using the menus of my DSLR and I actually could reliably use autofocus for each following negative image scan, which really helped in speeding up the scanning process. Recalibrating the AF using mm paper looks like so:

To confirm reliable operation, sharpness, and flatness of field, I purchased Valdimir’s test target (google that) and confirmed reliable sharpness across the entire frame using AF, always reliable alignment without need for adjustments, and about 40-45 LPI, which is about right for the 16 Mpixel scans as my DSLR allows for:


I scan my negatives shortly after development and have, thanks to the automations and LP record brushes virtually no need for post processing of dust etcetera. I scan at fixed 100 ASA, with aperture priority, letting the shutter speed (typically 1/100 or so) be automatically determined by the camera, while keeping an eye on the histogram and correcting with exposure +/- for one or two stops where needed. AF is per scanned image and works reliably. A typical example scan of Fomapan 100 film, developed in HC110, using NLP for conversion without any adjustments is:

Cheers,
Arno
7 Likes
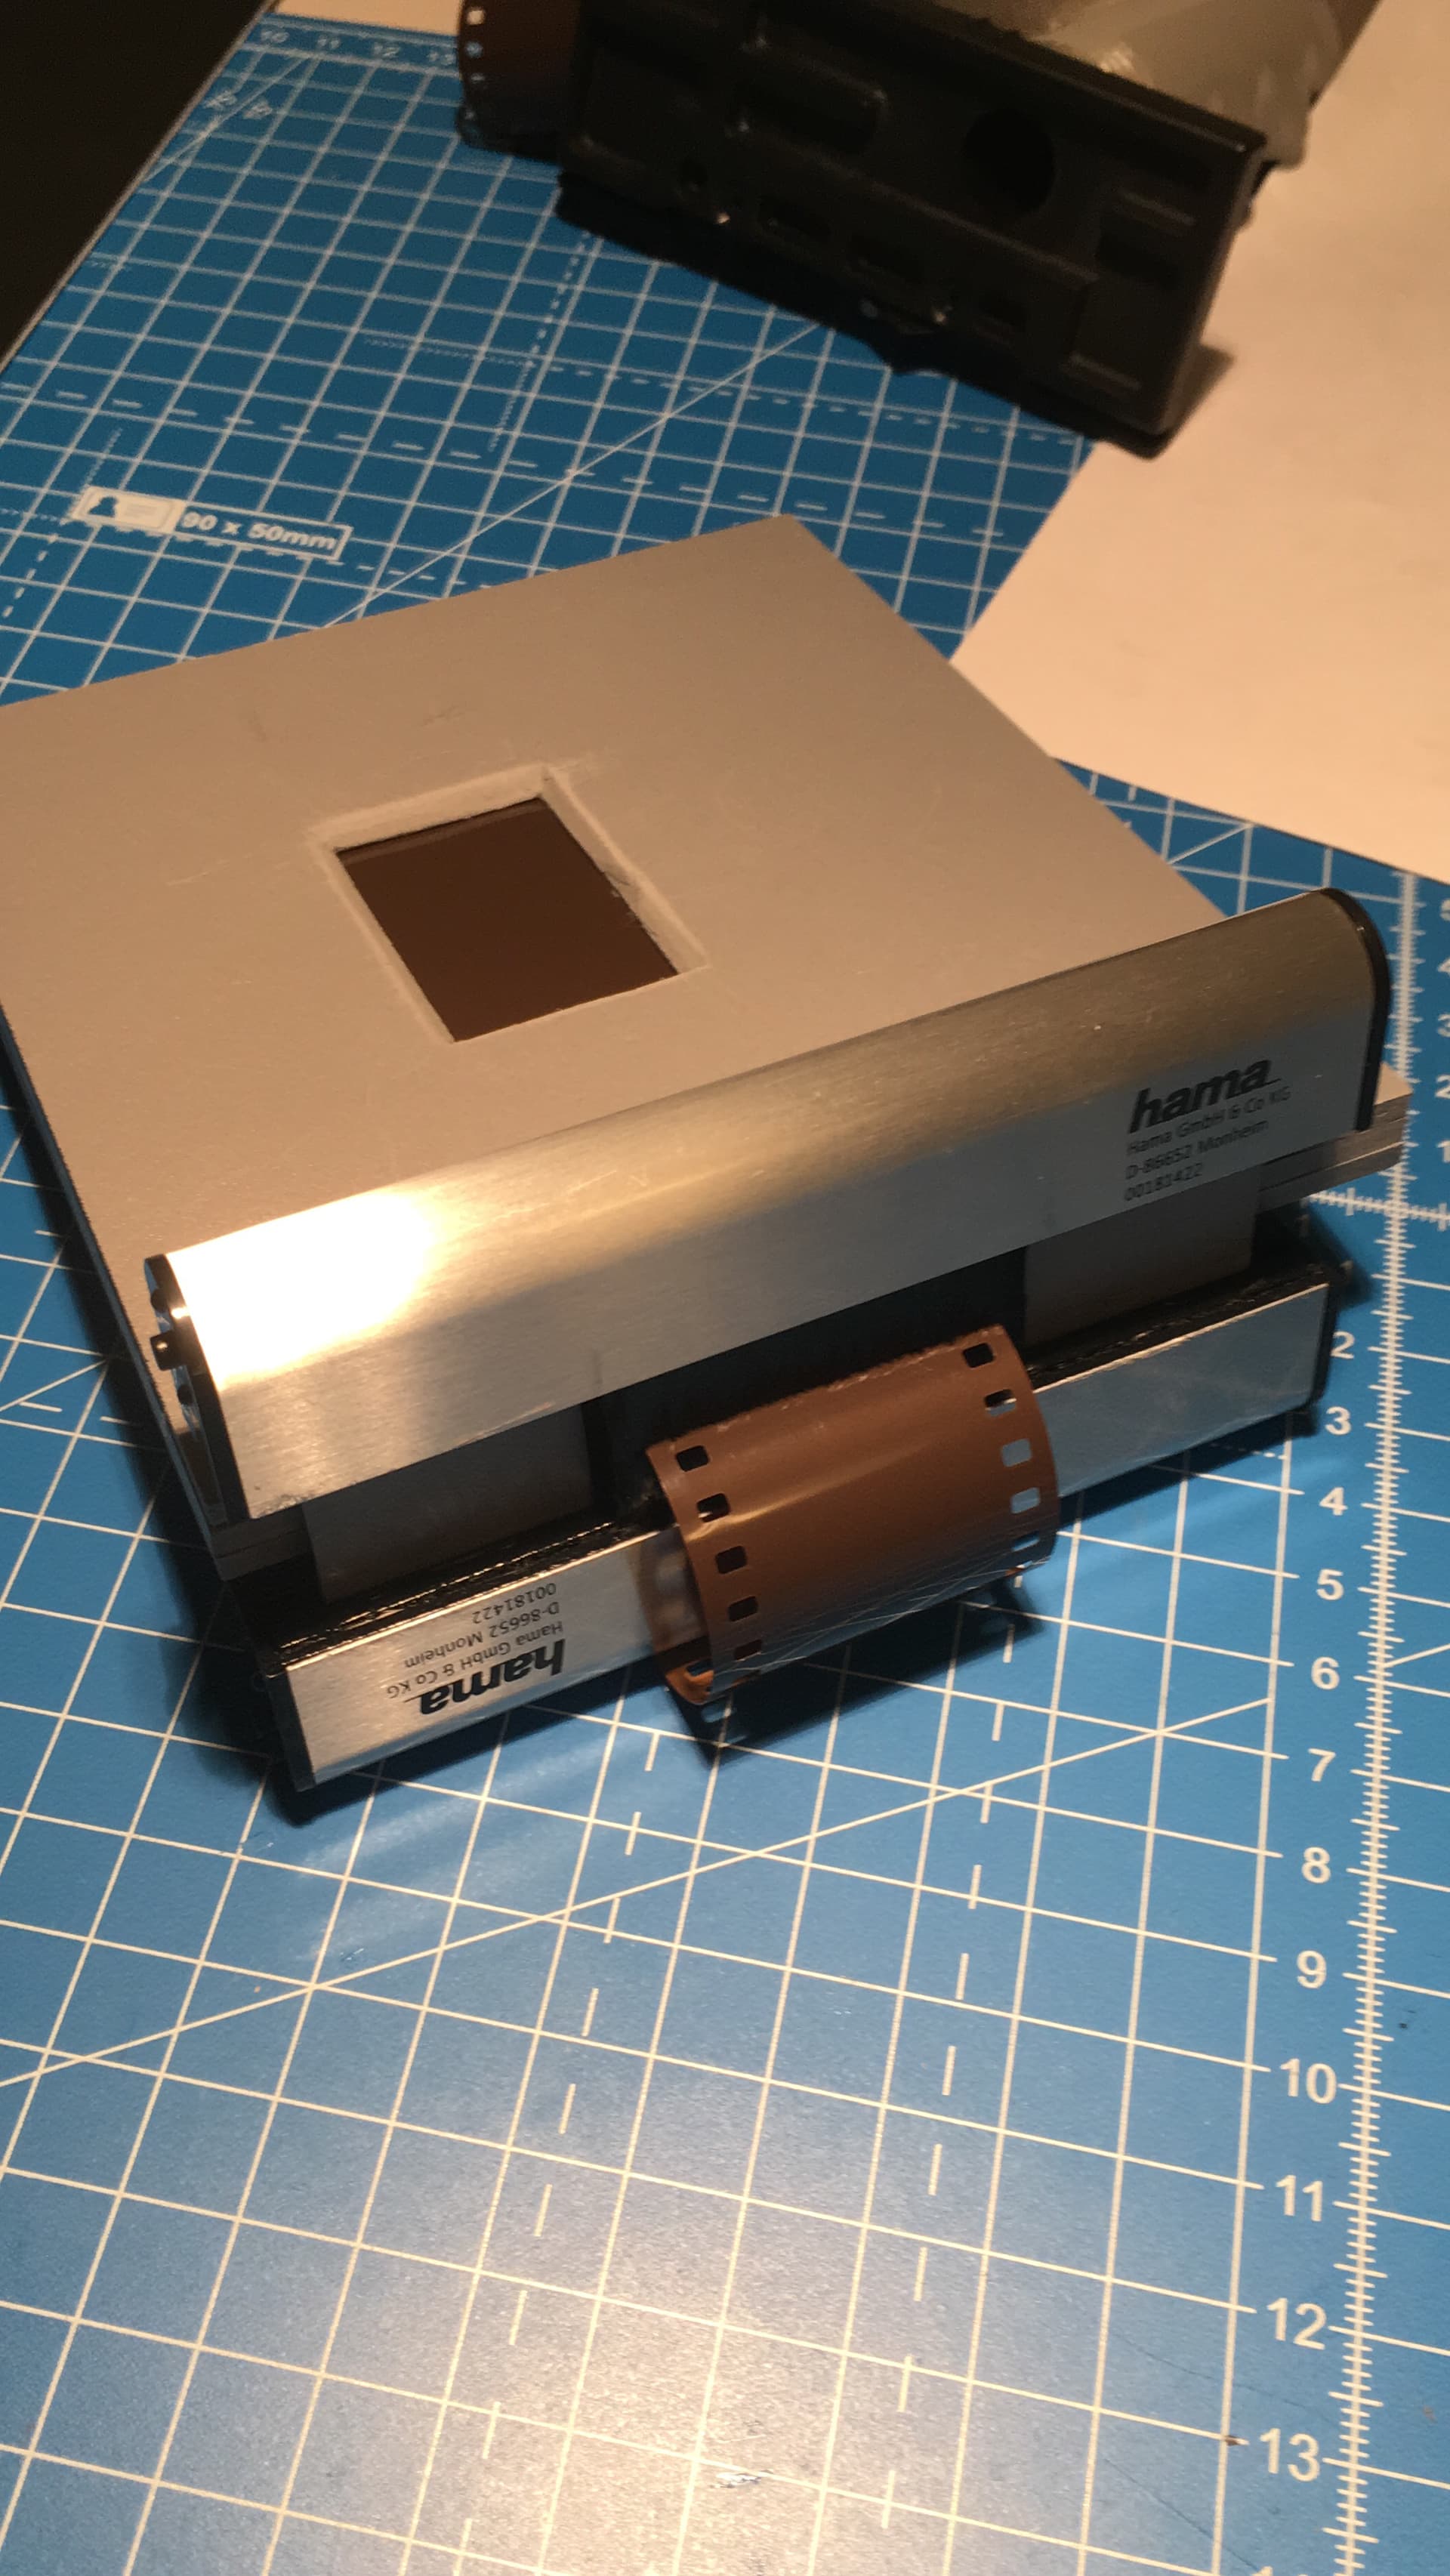
Made a significant upgrade to my setup. No more cans of beans! I built a copy stand with a video light at the bottom and a glass deck to put the Essential Film Holder on. The stand uses a macro rail which is a big upgrade but a little hard to use mounted vertically. Have to keep the rail screwed tight or it will slide down on its own. I used it in earnest for the first time today and was pleased to learn that I can tether Live View with Lightroom and directly import shots. Makes it a lot easier than leaning over the camera. My real struggle is with keeping the roll of film from touching the ground, I need some kind of take up spool system that will allow me to scan the roll without cutting it and keep it from getting dusty/scratched.


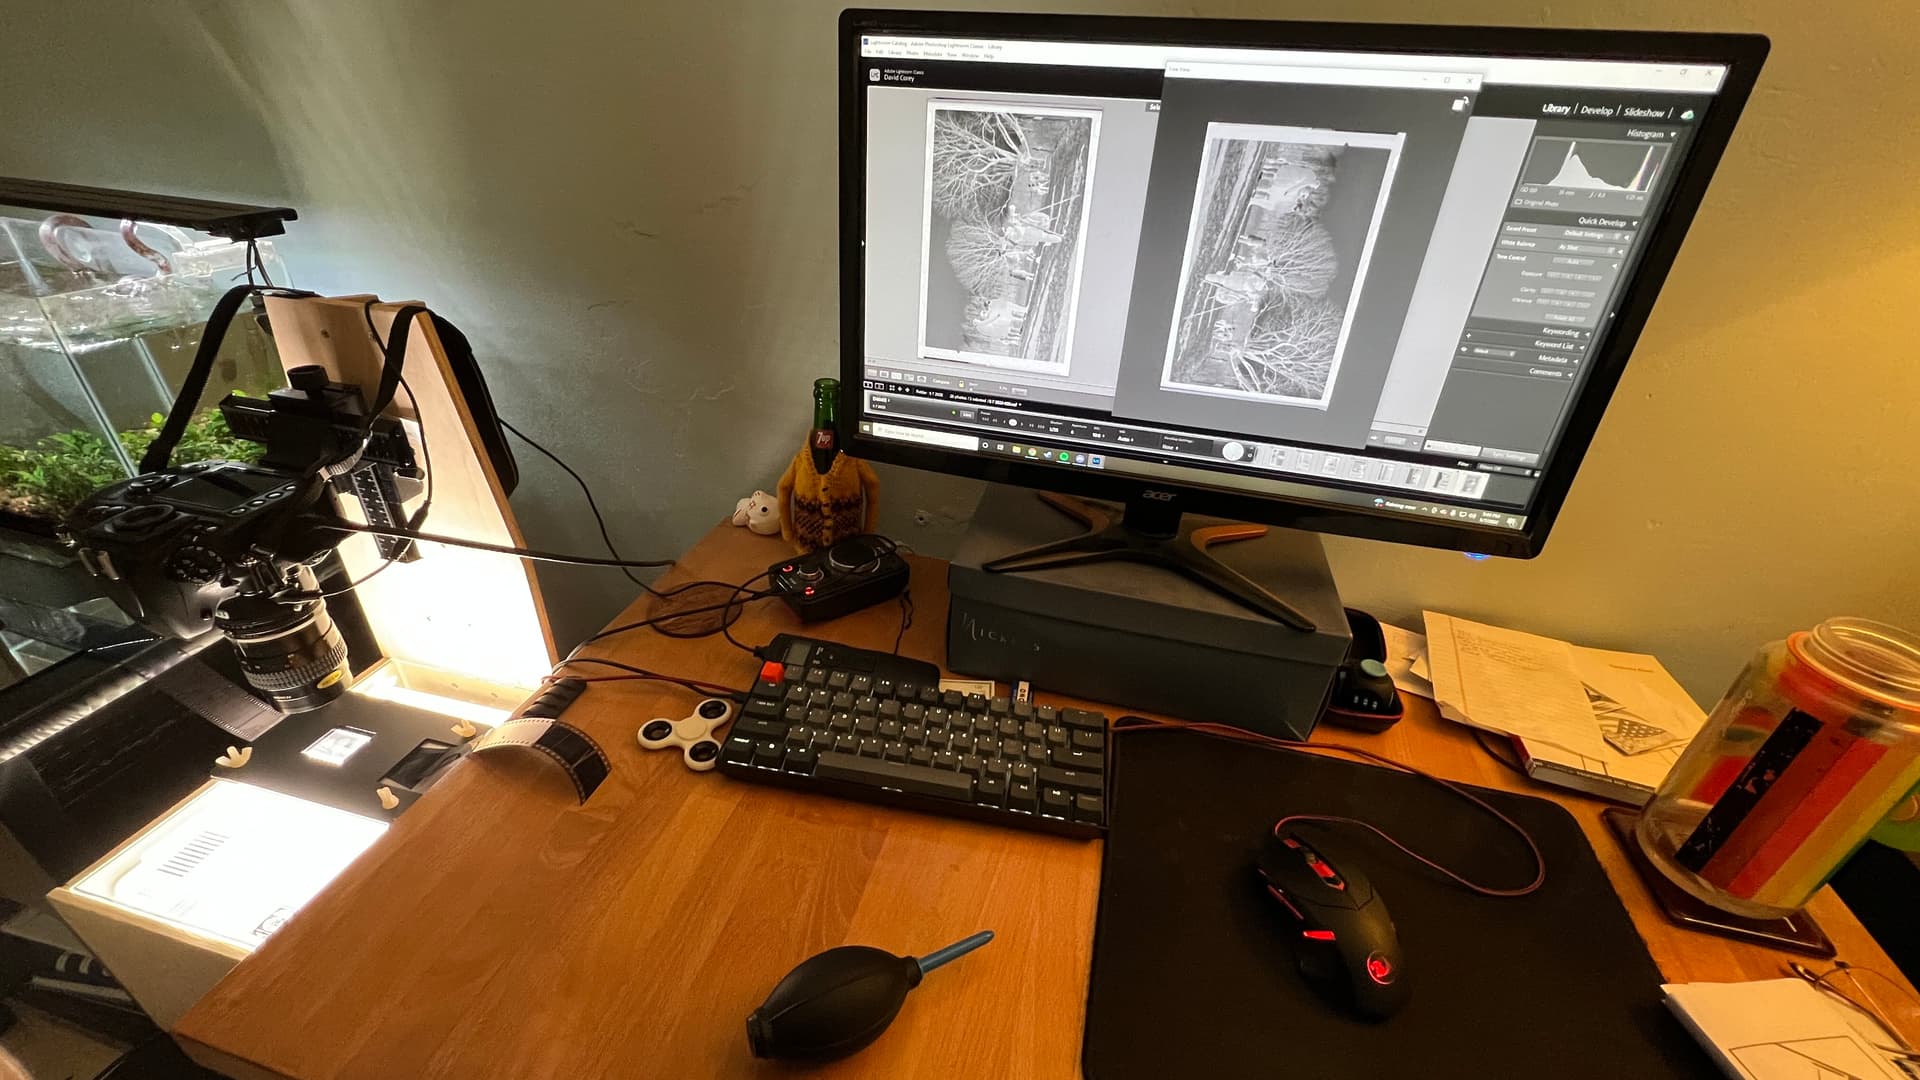
Nice work! You’ll definitely want to mask out any of that light from your light source that isn’t directly under your film holder! Trust me… this will save you a world of trouble later!

4 Likes