Currently I shoot 5x5 negatives (actually ~55m, quadratic) with a Nikon D750 on a Kaiser slimlite plano with 5000K.
I shoot two pictures per negative, then stitch them together in Lightroom. After that I apply NLP, is that the correct workflow or is the other way better?
I tried shooting 4 pictures per negative, but Lightroom makes it very hard to stitch them comfortably, so this is a time consuming process.
Next, I can’t seem to recreate the colors when inverting. NLP worked perfectly with 35mm negatives. Especially with blue colors.
Here is a very simple invert using Windows easy-of-access settings:
Yes, it’s fine to have Lightroom stitch the two negatives, and then to use Negative Lab Pro on the resulting DNG file. In most cases, this will be fine. You could also full process the negatives (process one, then use the “sync scene” feature to make them the same setting), then export the tiffs and use Photoshop (or another tool) to stitch together.
It looks like the NLP got a little aggressive on the setting the black point in this image… in this case, you can try to include a little bit of the film border and set “border buffer” to zero. This should produce a brighter black point. If your skies a little cyan still, try adding a touch of red to the mids in the color balancer inside Negative Lab Pro.
(Also, is v2.1, you’ll have more control over explicitly setting the black clipping point, which can make it easier to resolve in situations like the above).
Hmm, ok, if the film is damaged it could also throw things off a bit… still try to process it the way I suggested above. You can also play with what exactly is cropped in during conversion to avoid the damaged areas, and see if that improves things!
Thanks @nate. I tried your suggestions and got better results.
After some more trying I think I solved it, but probably by accident. I am not sure if I had “Auto settings” enabled in the Panorama function in Lightroom, but after resetting the white balance I got a much better picture.
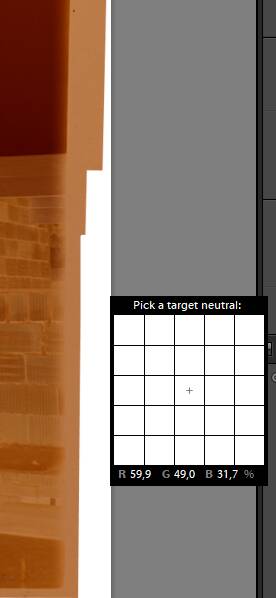
I set the white balance to the white area where the pictures get cropped by Lightroom due to not being perfectly lined up. The values seem weird to me, as those are usually in the 90%+ range. The white area is from Lightroom, not the picture.