I’ve seen that kit before, but in the 5 or 6 months I’ve been looking, it’s never been in stock. I’m thinking of using T-Bars from 8020.net to get as close as I can.

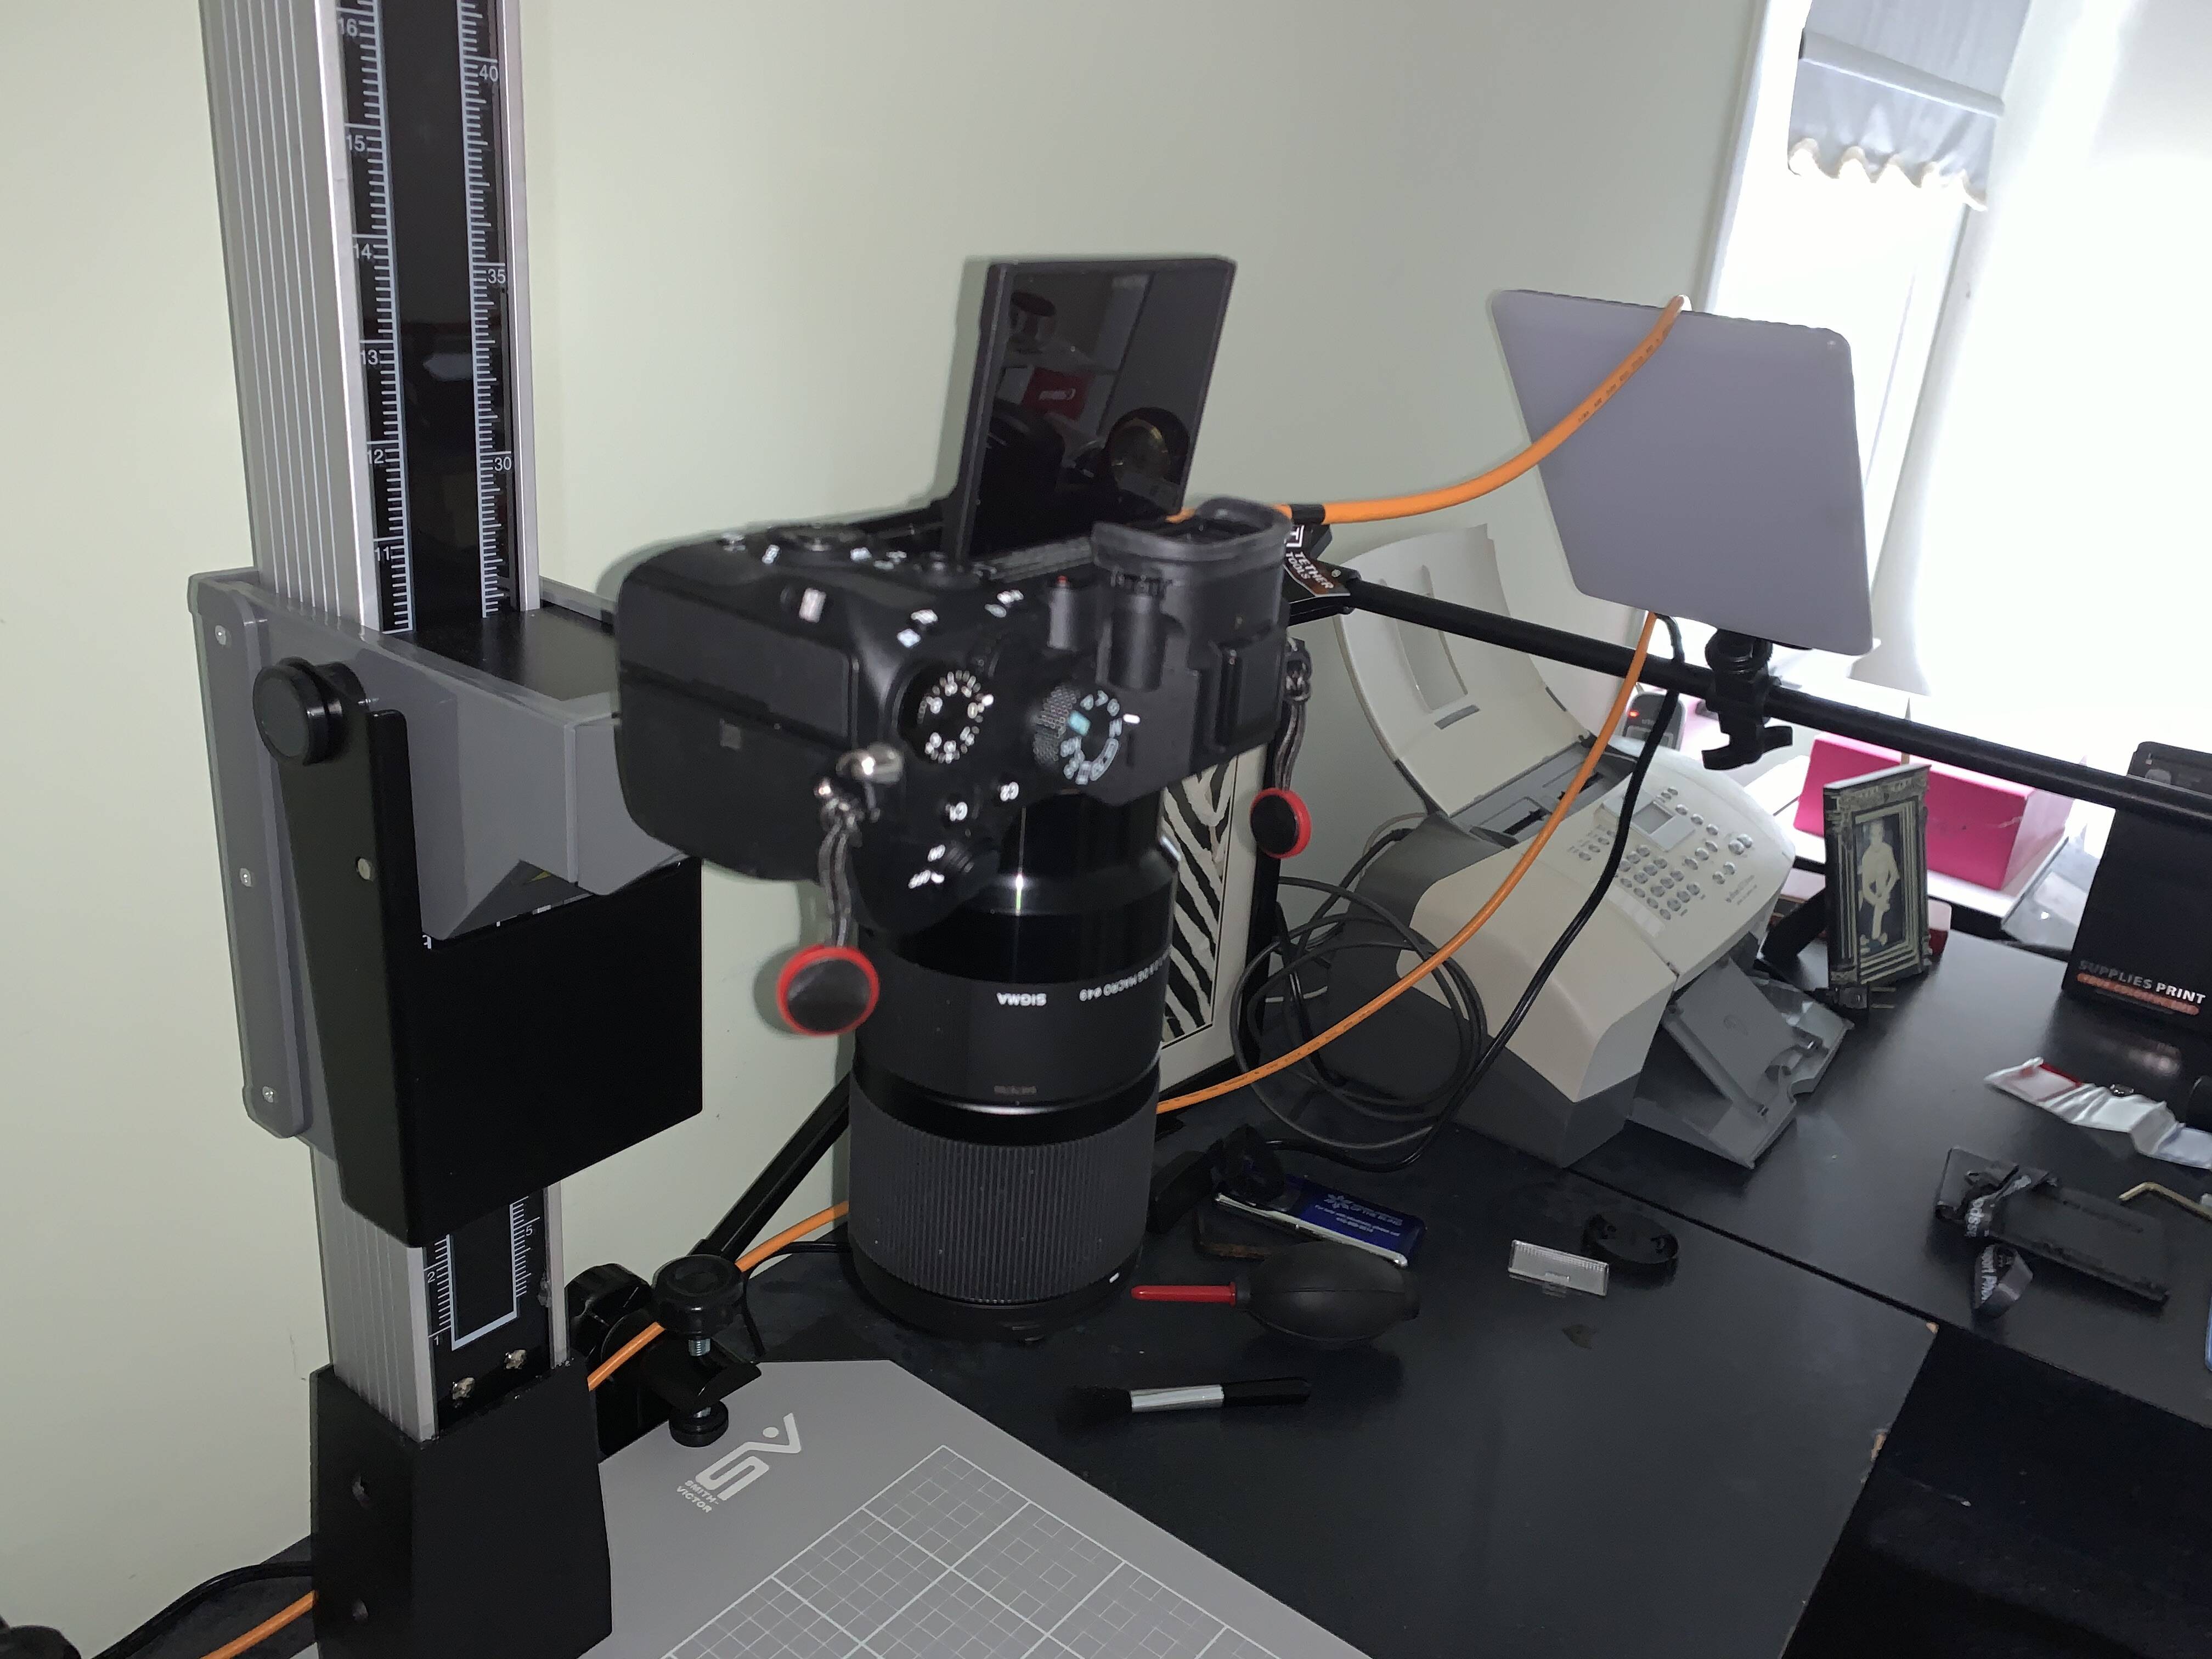


Using a Sony a7iii on a copy stand, Kaiser lightbox, and side lamps. Using an edelkrone FlexTILT Head 2 Pan/Tilt Camera Head for adjustments.
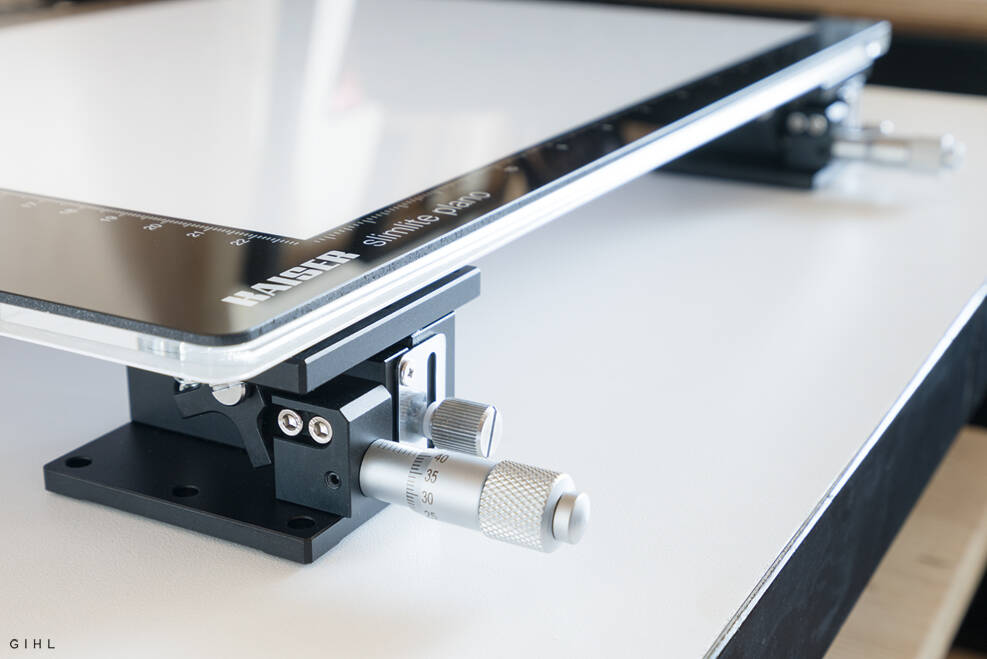
The LZ60 Z-Axis Manual Linear Stages has arrived from Aliexpress in China.
(The price is approximately $30 each.)
Each stage supports a weight of 3kg and moves quite smoothly.
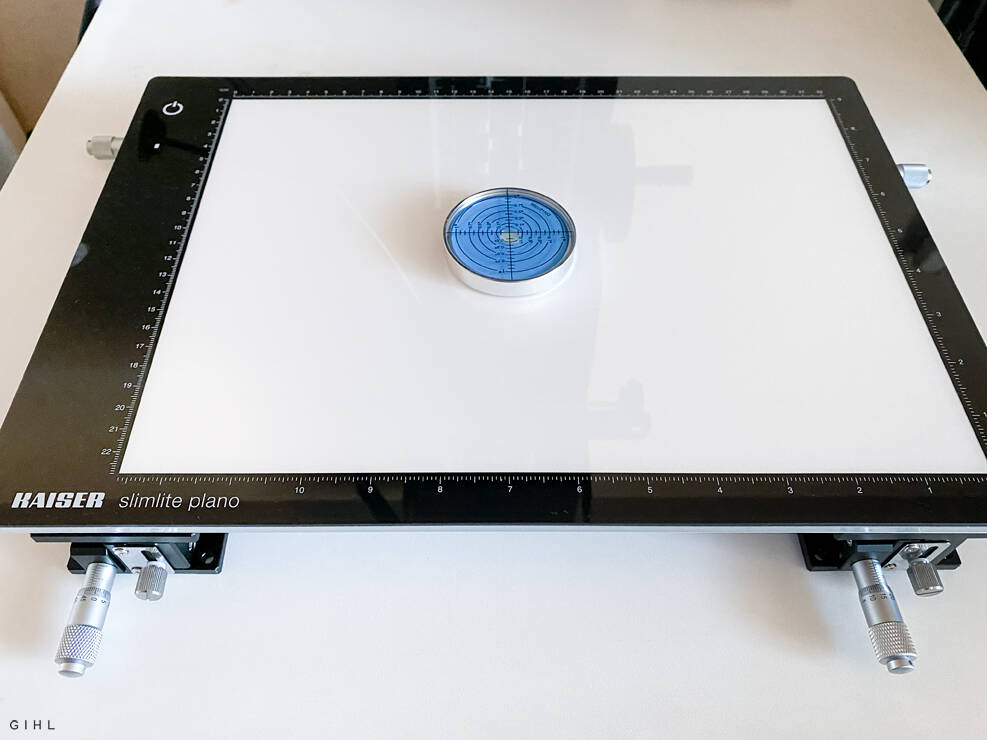
I leveled the lightbox with these four LZ60 manual stages. 
1 Like

Linear guide rail slides and linear guide bearing blocks have also arrived.
This setup is used for 1x2 or 2x2 multi shots of 4x5 film.
4 Likes
Hello - do you use a collimated light source is is this durst already cold light?
Secondly — do you manage to keep the camera / film levelled?
Thank you and best regards,
Rene
How is the film flatness? Do you use it for 120 too?
The light source is a special tungsten bulb with a mirror, something like the bulbs you find in ceiling lights. The light is diffuse and can be colored by turning the y, m or c knobs.
The film is held by the enlarger’s original film holder. I adjust as you can read here: How To Adjust for Low Distortion
Due to the construction of the enlarger head, the film does not get too warm. It does not bend or pop like you can sometimes see when slides are projected (half a century ago ![]() )
)
Just completed my film scanner 1.0 setup and so far so good. Here are the details and ingredients if anyone is interested:
- Sony A7rIII w/ adapted Nikon Micro Nikkor 55mm F/3.5 Macro
- VIVO Dual Monitor Desk Stand Vertical Array (only using one tube but if I ever switch to a 100mm macro I can add the 2nd): https://www.amazon.com/gp/product/B01CUW5HDU/ref=ppx_yo_dt_b_search_asin_title?ie=UTF8&psc=1
- Manfrotto Super Clamp x2 (any super clamp should work here but I already had these)
- Pergear TH3 Ballhead (for camera): https://www.amazon.com/gp/product/B00MGJH5U6/ref=ppx_yo_dt_b_asin_title_o01_s00?ie=UTF8&psc=1
- Joby Ballhead (for light… I stole this off of a Gorillapod I already had)
- VILTROX L116T Super Slim LED Light Panel (love this as you can control color temp, intensity, and it’s 95CRI):
- Essential Film Holder (for the negs)
Possible future addons might be some sort of brushes to pass negs through prior to going into the film holder to eliminate dust and possibly some type of stick on “cups” to hold the EFH in place on the LED since it’s a bit smaller and slides around easily.
Unfortunately I can’t add any more images or links because I’m new to the forum 
1 Like

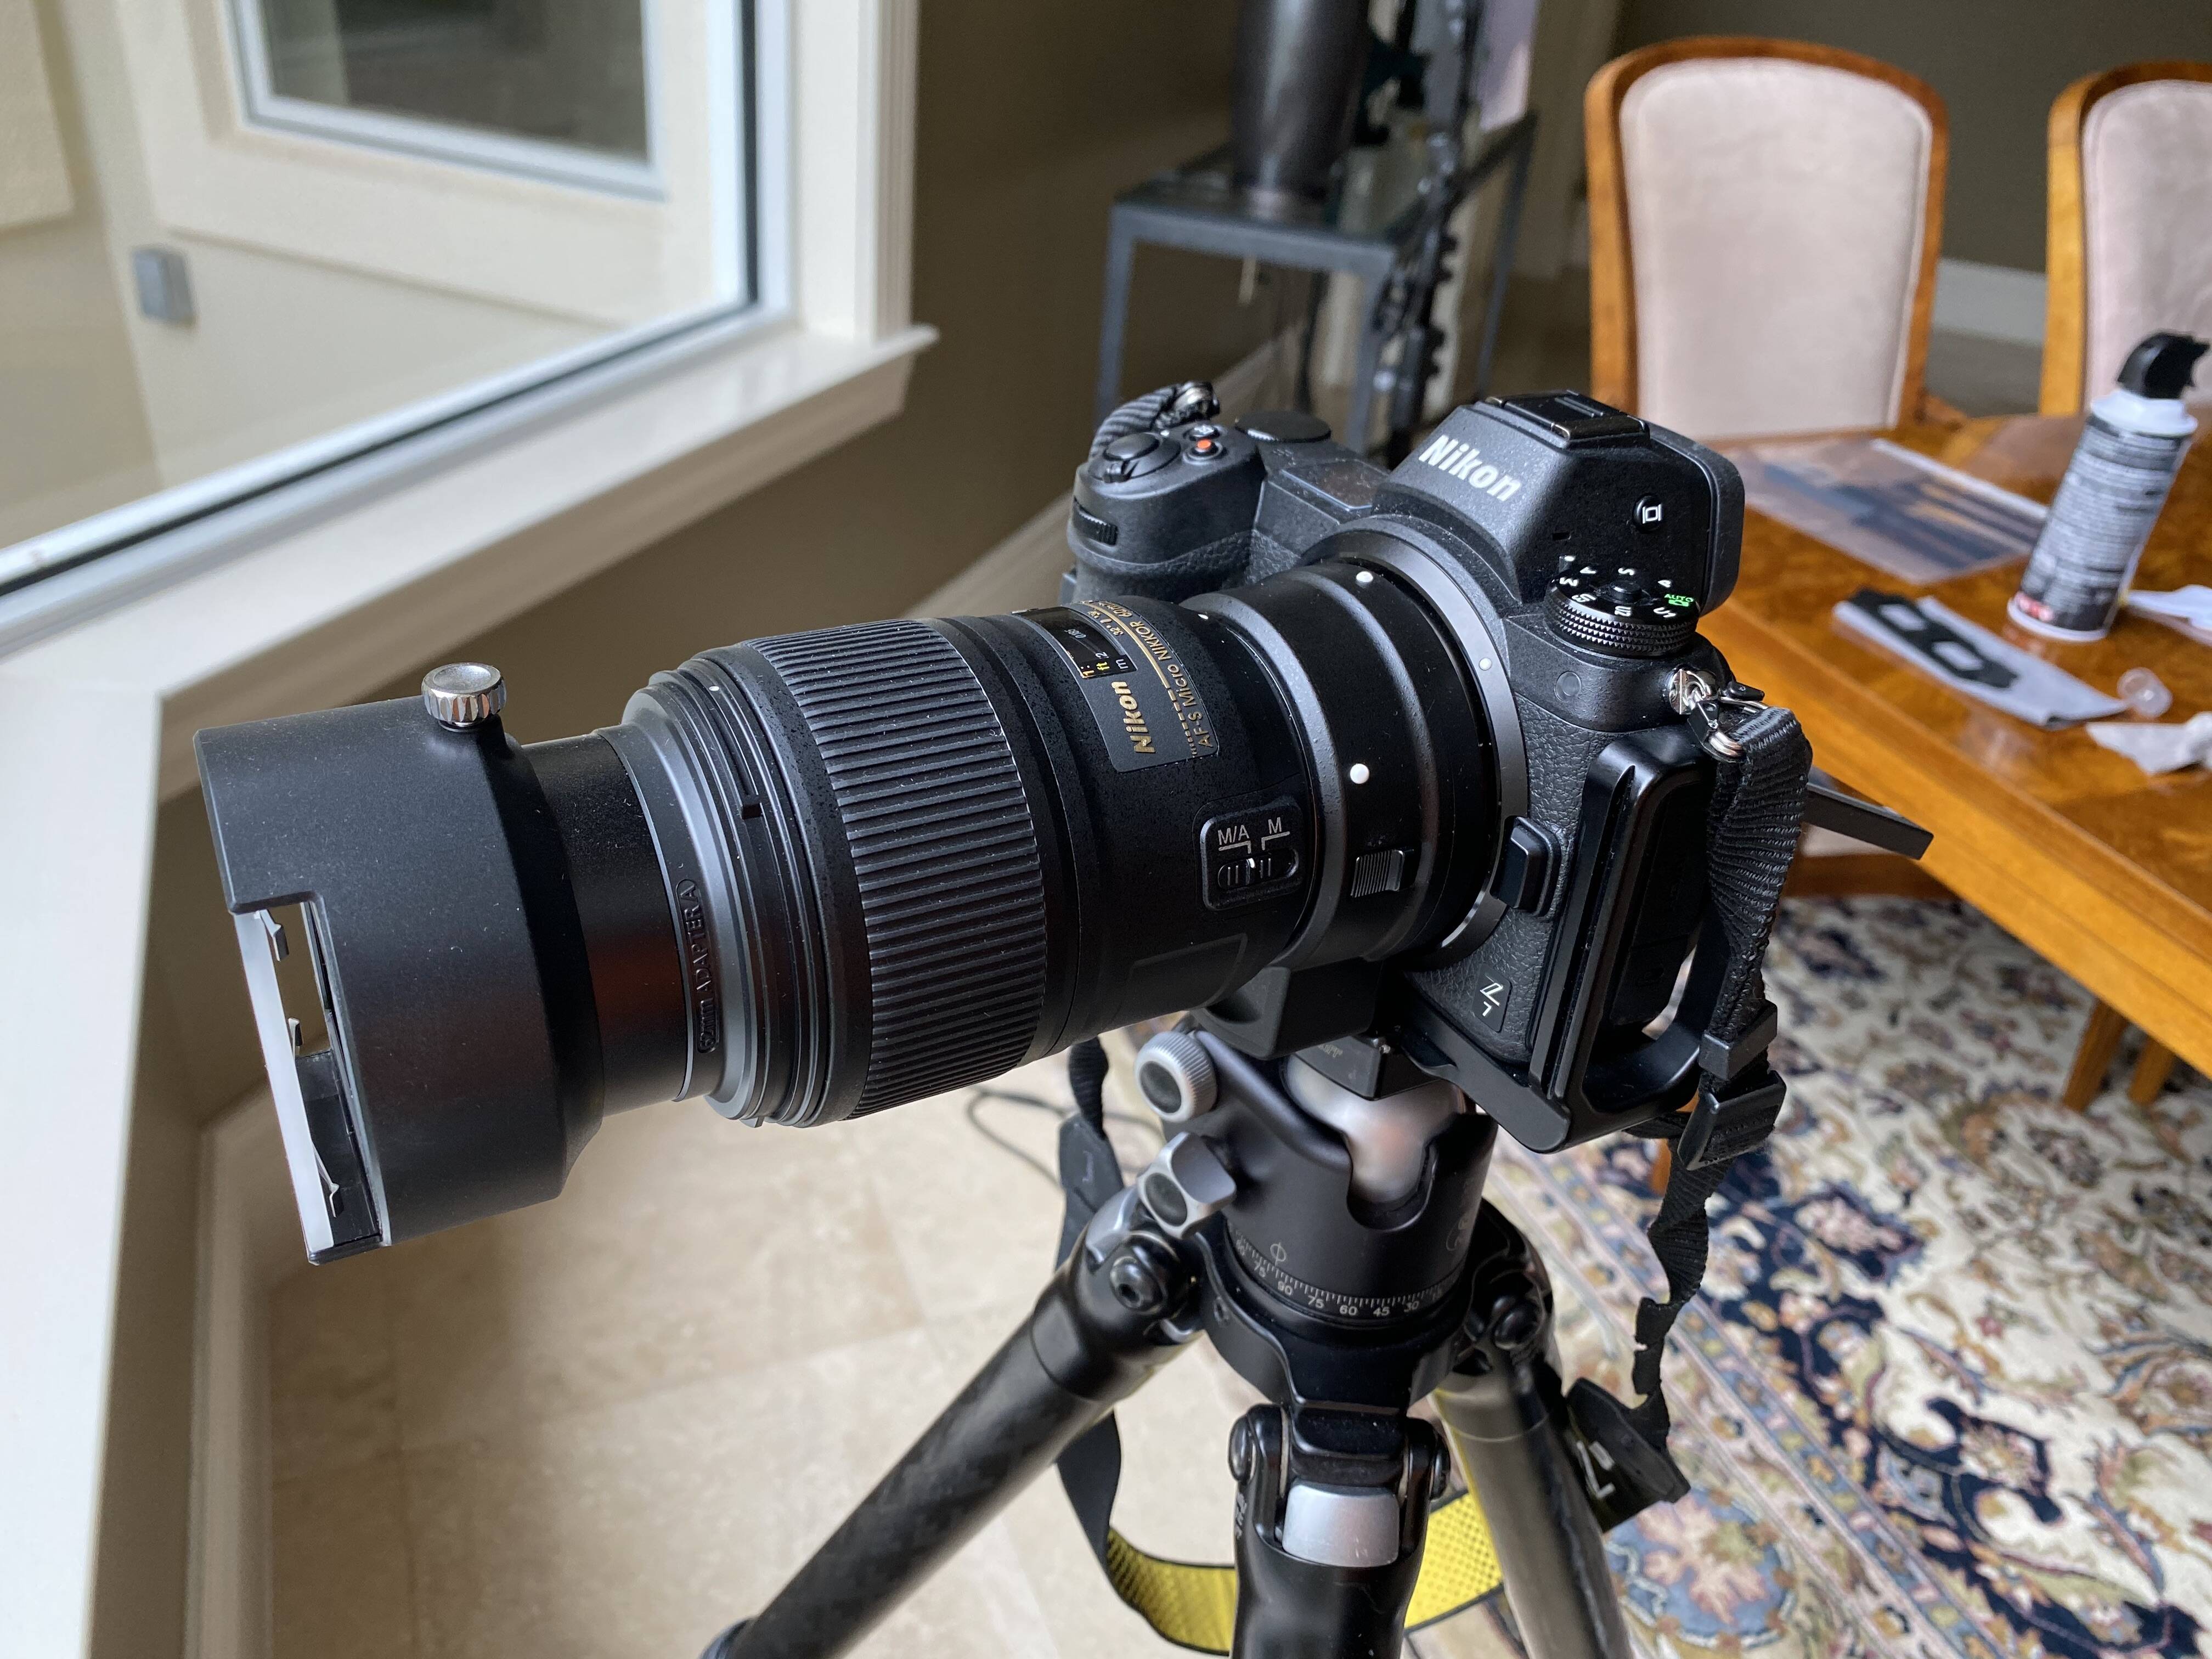
I am using a Nikon Z7, a Nikon 60 mm f 2.8 AFS G lens, and a Nikon ES-2 Film Digitizing Adapter. I either use natural light from my window or a Generay SP-E365Z LED light.
I tried to upload an image I scanned but it would only allow one image as I am new to this forum.
1 Like
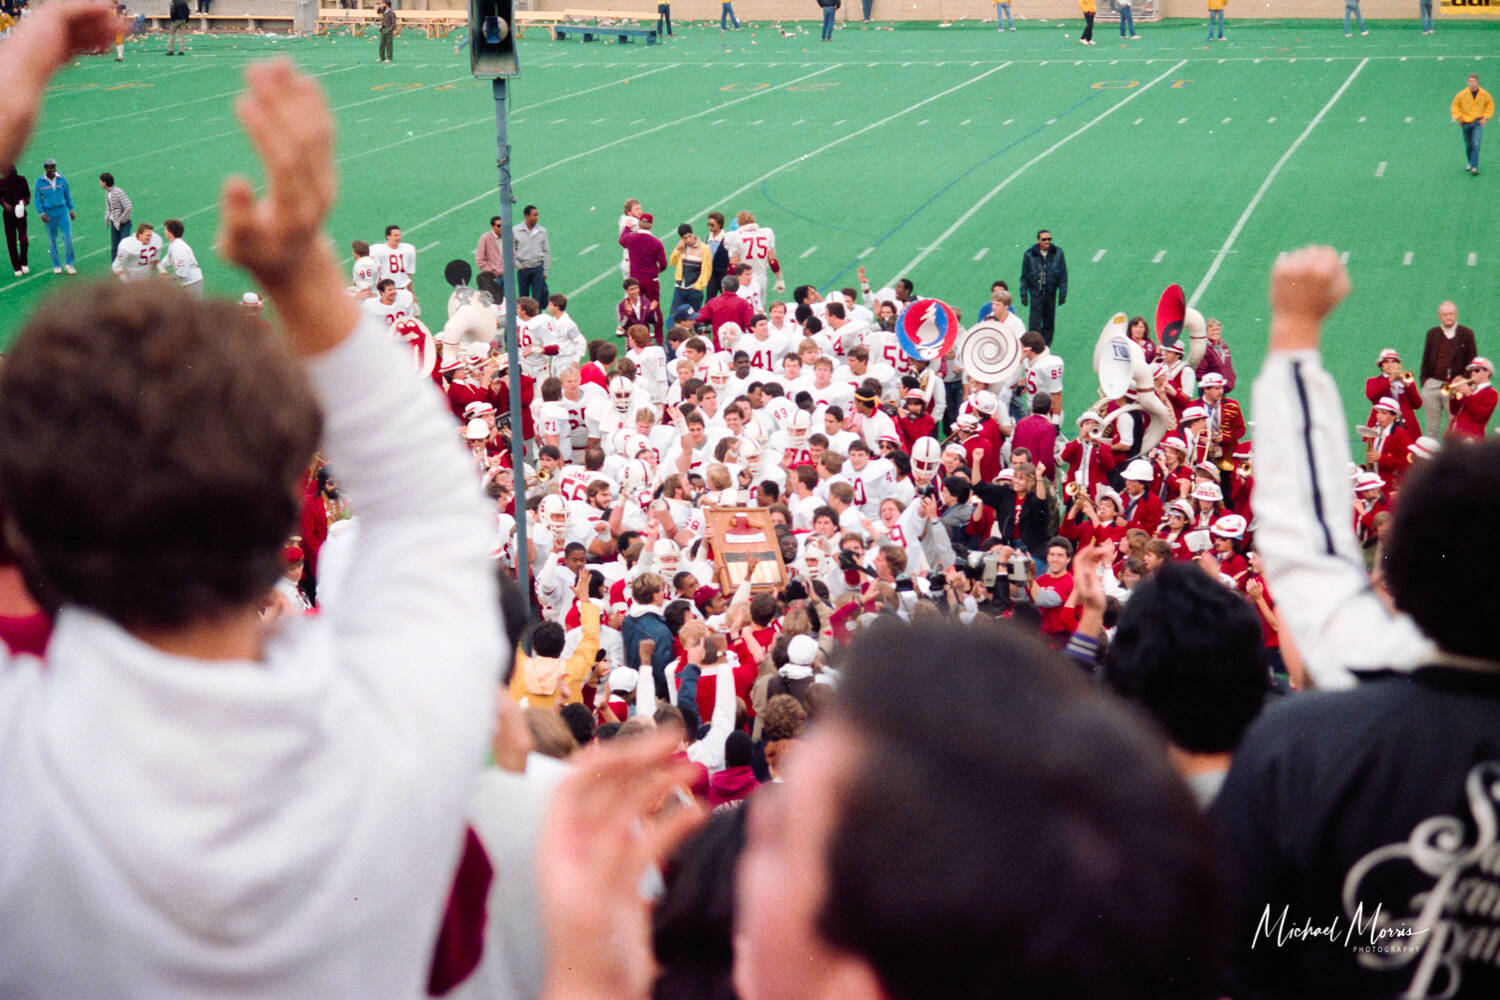
Here is an image I scanned today with my set up. I processed it in Lightroom Classic with Negative Lab Pro. The image was taken at the Stanford - Cal Big Game in November 1980.
2 Likes
Love your setup. Seems like its within my means. I may implement this, thanks for posting!
2 Likes


This rig has now scanned about 10000 images over 2 years. Bravo to Nate for V2 of NLP. Now my mirrorless scans are even better than those from my Nikon Coolscan.
It started with a Honeywell Universal Repronar. Added a Topcon bellows, a Sony NEX-7, a Leitz Focotar, a Negatrans, and an LED movie light replacing the Repronar strobe.
2 Likes
How did it go? Is your reproduction of the DT assembly a success ? Can you share some pics?
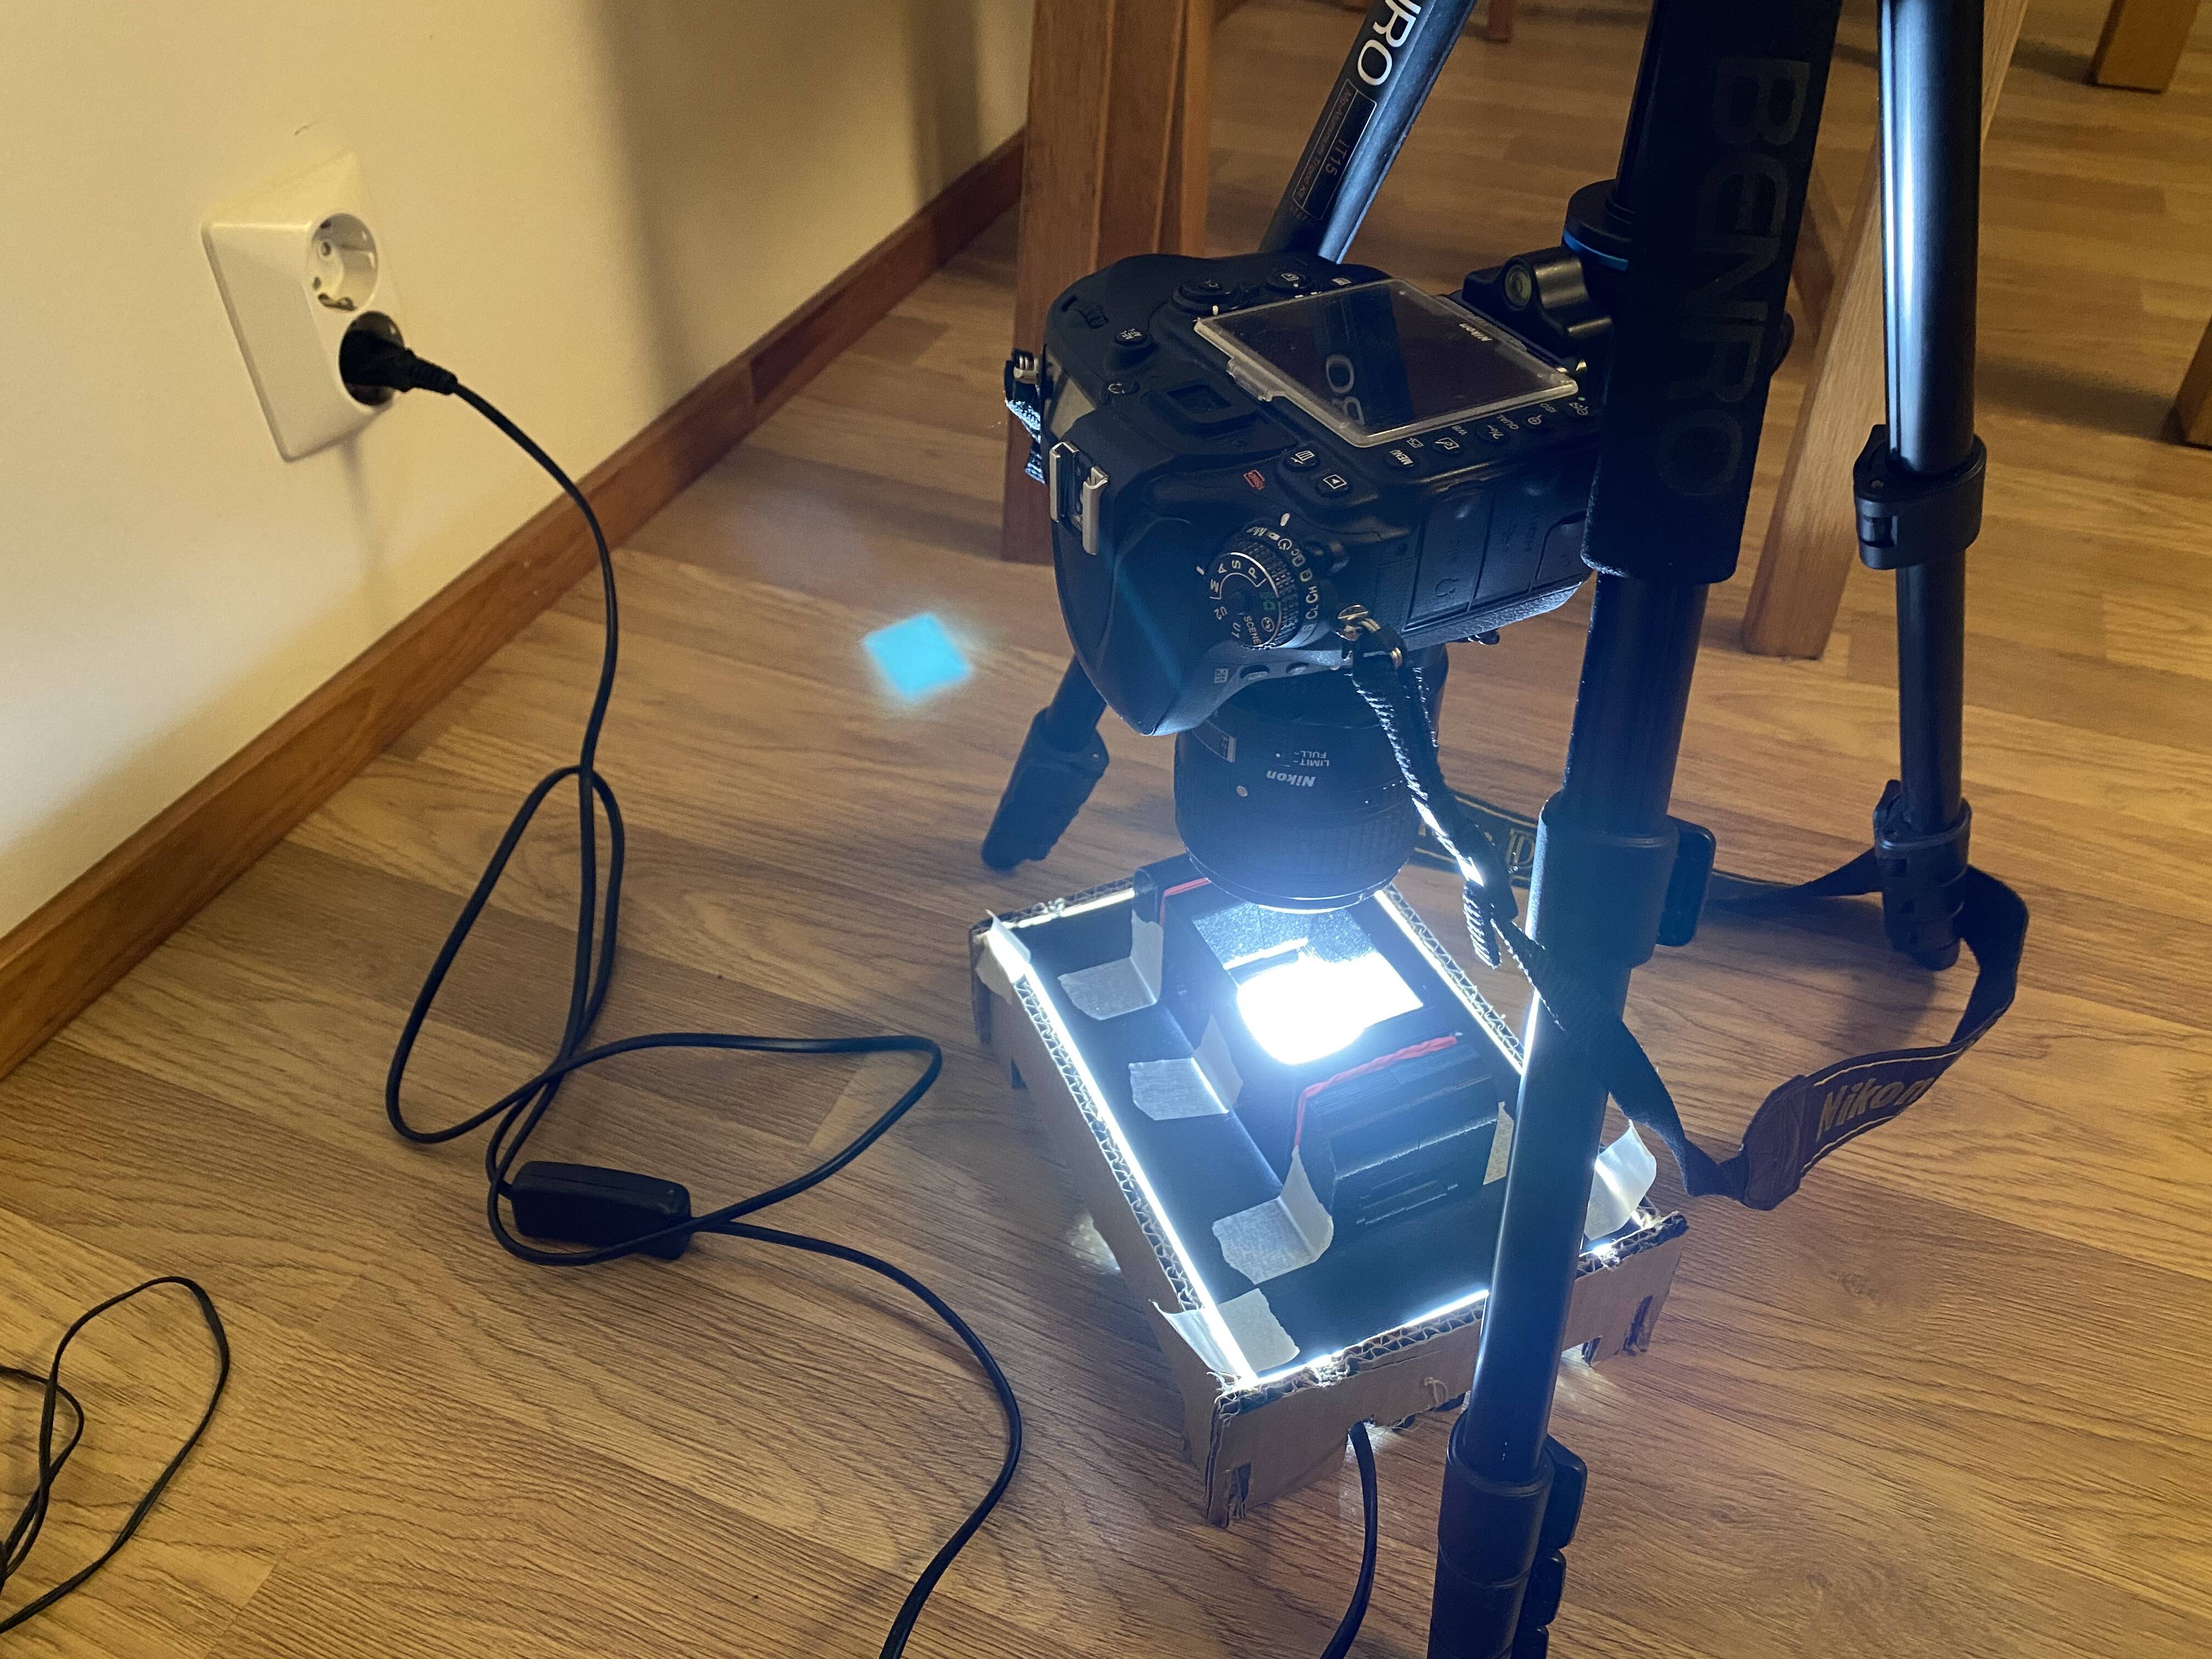
Here’s my setup. Pretty janky but works well enough.
- 3D printed the Kamerakraft carrier and black paper for light mask
- CN-T96 led panel
- Led panel stuck to that cut up cardboard box to keep it flat and to attach the diffuser, because the led panel backside is curved.
- PyraLed YT275 matte/gloss for diffuser (PyraSied is super awesome for acrylics, has specs & sample images of diffusion for everything)
- White paper inside the box to make the light more even
- Nikon D610 & 60mm 2.8 AF-D Micro Nikkor for scanning
- Negative Lab Pro for inverting the negs of course

I’m really happy with the quality I get, but the most janky part about this is that it’s easy to bump the tripod or the box. My next improvement should maybe be a proper copy stand.


A couple recent scans. Kodak Ultramax, basic NLP conversion, tones set to Lab Soft.


I began using Negative Lab Pro a couple weeks ago. I am also using a Minolta Dimage Scan Elite 5400 and process the Raw DNG files from scans of my negatives 35mm from early 1980s. This is a slow process as each image takes 11.5 minutes to complete and then to import to Lightroom and process with NLP.
I have also decided to attempt to use my Olympus OM-D EM-1 to scan the negatives and the following is the setup I created.
Em-1 with 35mm Macro m4/3 Digital Zuiko which focuses to just under 4 inches so it can fill the frame.
Copystand Mini 300.
MedaLight Slim Light Panel LP-100N.
Self built wooden stand to fitter the Lihjt panel and guide the Film holder from one of my scanners.
See the following images.


It’s just been two days that I have started testing and refining the setup but I think it’s going just fine.
See two image files one done on the scanner and one done with the camera.


1 Like
Hi guys,
Just started with scanning my 35mm. This is my setup:
Nikon D780
Nikkor 60mm 2.8D
I’m not at all satisfied with the results. They lack sharpness because i have to crop a lot in post. Does buying a macro tube help or do I have to purchase the Nikon ES-2?

Check here for possible answers:
Hi, good to see someone else using the Skier system, it’s been great for me. I’ll take pictures of my setup next time I scan.
1 Like