Hey,
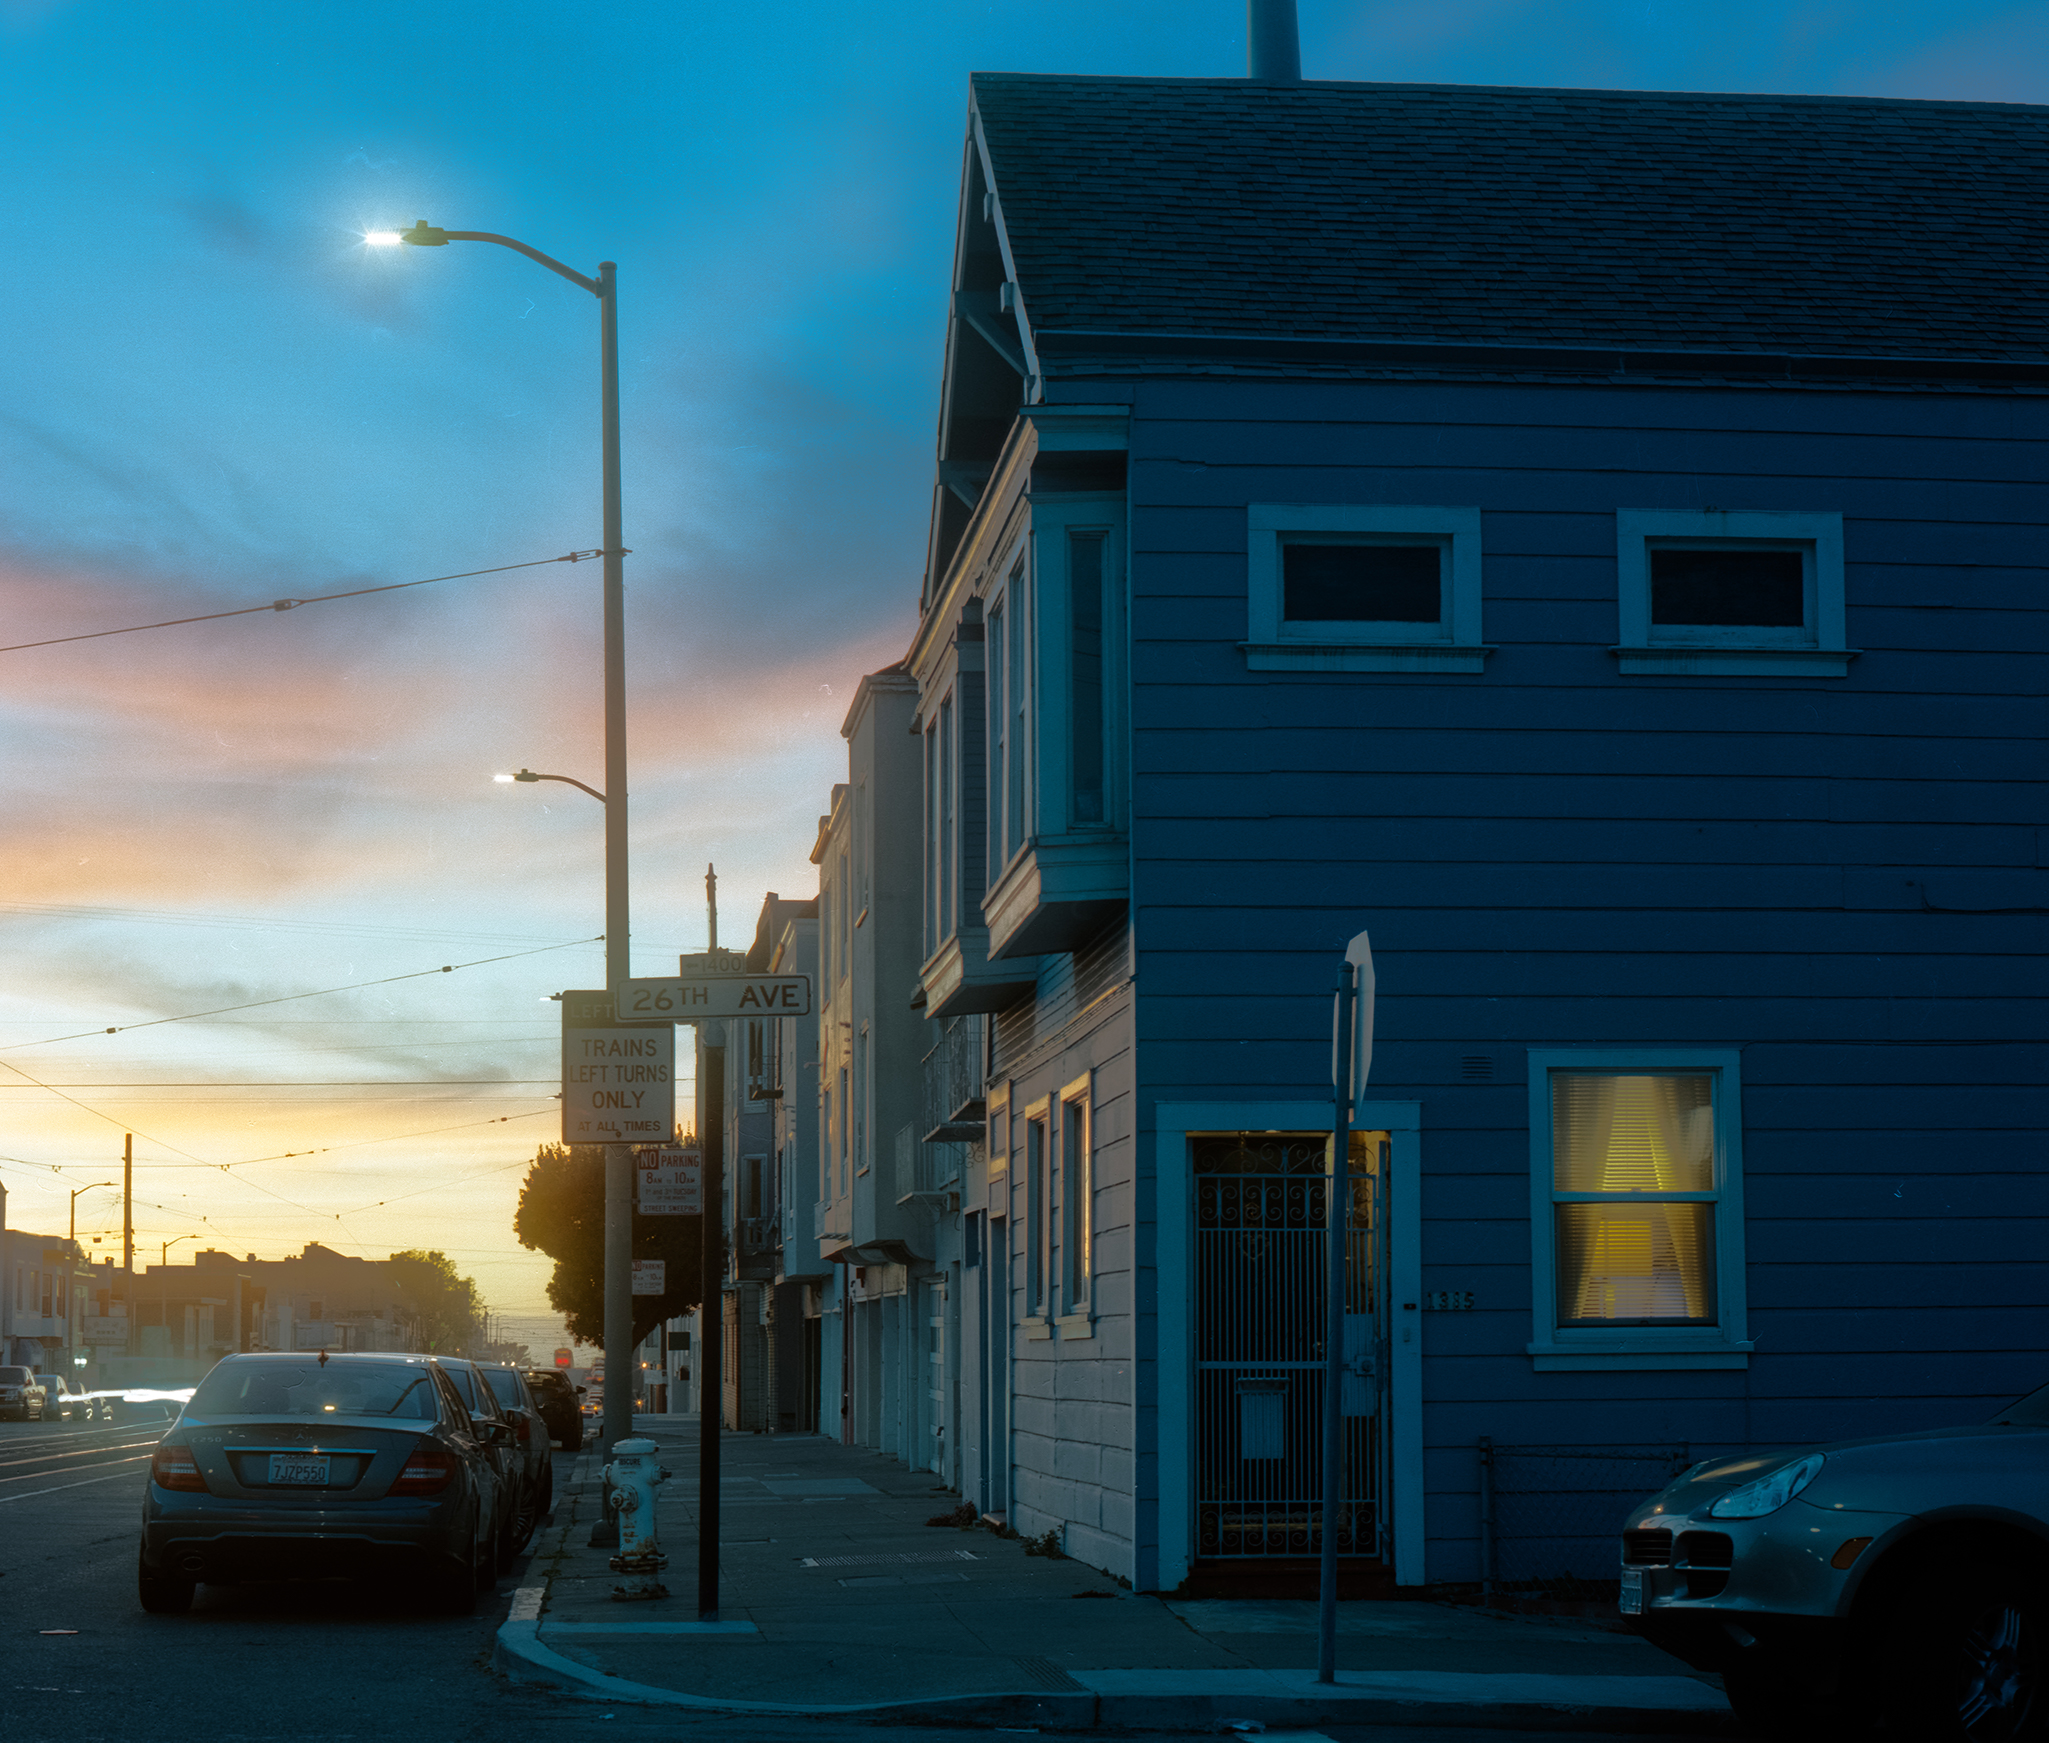
I’m processing a roll of Portra 400 where I’d like to keep good shadow details but recover some of the amazing sunset. Straight out of conversion, the photo looks like this
What’s going on here? Looks like I have all the details, ready to recover, but I seem to be unable to do it.
I’m not trying to make my photo look HDR-ish of course.
Cześć Michal!
Try the lightroom brush tool (shortcut: K):
• brush over the parts of the sky that you want to change
• adjust the sky to your liking
• done!
Portra 400 has a very high dynamic range, so none of those details are lost.
But having a high dynamic range does NOT mean that the film will normalize between the brightness variances in different parts of the image.
So, as you’ve discovered, as you adjust the scene darker to match the exposure of the sky, the foreground becomes too dark. But all the details are there…
So, you have a couple of options…
Use the Lightroom Brush tool (as suggested by @Jaroslaw - just set the exposure on the brush to increase (because it is working against the original negative. Also be aware that you may need to also adjust the white balance on the brush tool to keep it consistent with the rest of the scene.
Export one image as a positive tiff, and use Lightroom’s regular tools for highlights and shadows - this should help to bring back at least a little of that color in the sunset.
Process a version for the highlights, and another version for the shadows, export both as TIFFs, then blend in photoshop. You can process it both ways in Negative Lab Pro (using a virtual copy) and export both to TIFF, and then use Photoshop or another tool to combine. This method takes a bit of skill, but is very versatile, especially when combined with Luminosity masks.
Hope that helps!
-Nate
Creator of Negative Lab Pro
Thanks all for fantastic ideas and a nice & detailed description what’s going on here. Indeed, a selective editing is the way to go here.
After a lot of experimenting, I decided to use the Luminosity masks way, as it gives me most control and produces the most natural looking images.
Excuse my HDR-y looking sunset, but I just finished my first luminosity masks tutorial Plus, those sunsets here look like 10x more vivid here - and I prefer the pastel tons of Portra for my photos. It is really toned down
Speaking about portra vs sky - most if not all of my photos have the blue hour turned a bit into cyan-ish. Is that how Portra represents it, or am I doing things wrong?
Wow, that looks great, congrats! Aren’t luminosity masks amazing???
There are a lot of variables at play… You’ll probably see the “truest” colors to the film stock if you set the “color model” to “basic”, set the tone profile to “linear + deep”, and then use the color correction options in NLP to correct the casts while still on the raw.
Sunsets are also a bit tricky for the current “single image optimization” algorithm, which tends to take the take the brightest part of the sky and render it as “white” when it should render it with more red and yellow. Currently, the best way to deal with it would be to make a color adjustment in the “highs” color corrector in NLP to add more yellow and red to the white point… but also, working on a hybrid algorithm which can take the context of other shots in the roll, and in testing that seems to do much better with sunset scenes.


 Plus, those sunsets here look like 10x more vivid here - and I prefer the pastel tons of Portra for my photos. It is really toned down